How to Apply Kinesiology Tape Correctly
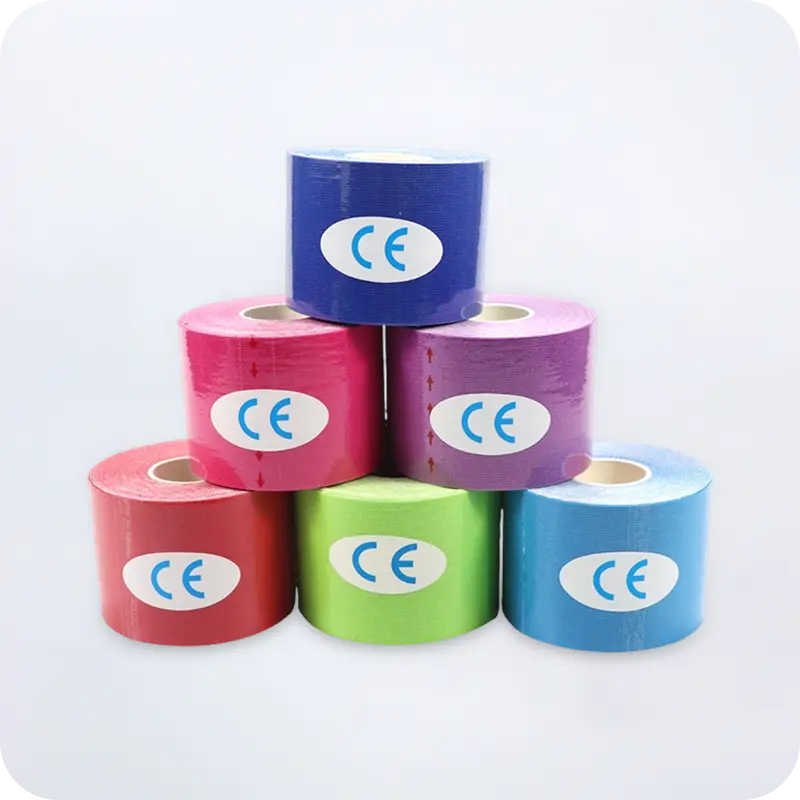
Applying kinesiology tape correctly comes down to three core principles: clean and dry skin, proper stretch level, and correct tape direction relative to the muscle. Whether you are taping your knee, shoulder, lower back, or ankle, these fundamentals remain the same. Using a strong stickiness Kinesiology Tape ensures the tape stays in place during intense activity and does not peel off with sweat or movement.
Most applications require 0% stretch at anchor points and between 25%–75% stretch over the target muscle or joint, depending on the goal — support, pain relief, or lymphatic drainage. Getting these details right makes the difference between a tape job that lasts 3–5 days and one that falls off in hours.
Essential Preparation Before You Apply Kinesiology Tape
Skipping preparation is the number one reason kinesiology tape fails early. Follow these steps before every application:
- Clean the skin — Remove oils, lotions, and sweat with rubbing alcohol or soap and water.
- Dry thoroughly — Even slight moisture reduces adhesion significantly.
- Shave if needed — Body hair prevents full contact between the adhesive and skin.
- Round the corners — Cutting rounded corners on the tape ends reduces edge peeling by up to 50%.
- Rub the tape after application — Friction from rubbing activates the heat-sensitive adhesive and improves bond strength.
Allow at least 30–60 minutes before exposure to water or intense sweating for the adhesive to fully set.
How to Apply Kinesiology Tape on the Knee
The knee is one of the most common areas for kinesiology tape application, used for conditions like runner's knee, patellar tendinitis, and general joint instability.
Step-by-Step: Basic Knee Support
- Bend the knee to approximately 90 degrees.
- Cut a Y-strip. Place the base (no stretch) just below the kneecap.
- Apply each tail of the Y around both sides of the kneecap with 50% stretch.
- Anchor the tails above the knee with 0% stretch.
- Apply a horizontal I-strip across the kneecap with 75% stretch for additional stabilization if needed.
This technique lifts the skin slightly over the patellar tendon, reducing pressure and improving circulation around the joint.
How to Apply Kinesiology Tape on the Shoulder
Shoulder taping addresses rotator cuff strain, AC joint pain, and general shoulder instability. The shoulder's complex range of motion requires careful strip placement.
Step-by-Step: Rotator Cuff Support
- Position the arm across the body (arm in slight internal rotation).
- Apply an I-strip from the top of the shoulder blade, over the shoulder, and down the lateral arm with 25%–50% stretch over the muscle belly.
- Leave both ends (approximately 5 cm each) with no stretch.
- Add a second horizontal strip across the front of the shoulder with 50% stretch for anterior support.
- Rub firmly to activate adhesive.
For posture correction, apply a fan strip along the upper trapezius from the base of the skull to the mid-back with light stretch to provide a gentle proprioceptive cue.
How to Apply Kinesiology Tape on the Lower Back
Lower back taping is widely used for muscle fatigue, lumbar strain, and postural support. It is important to position the spine correctly before applying.
Step-by-Step: Lumbar Support
- Stand or sit in a slightly forward-flexed position to stretch the lower back muscles.
- Apply two I-strips vertically along each side of the spine (not directly on the spine) with 25% stretch.
- Anchor both ends with 0% stretch at the upper and lower boundaries.
- Optionally, add a horizontal strip across the most painful area with 50%–75% stretch for targeted pain relief.
Do not apply tape directly over the spinous processes (the bony midline). Strips should run parallel, approximately 2–3 cm from the center on each side.
How to Apply Kinesiology Tape on the Ankle
Ankle taping is used for lateral ankle sprains, Achilles tendon pain, and peroneal tendon issues. The goal is to limit excessive inversion without restricting full natural movement.
Step-by-Step: Lateral Ankle Sprain Support
- Position the ankle at 90 degrees (neutral position).
- Apply an anchor strip around the lower shin with 0% stretch.
- Run a stirrup strip from the anchor, under the heel, and up the opposite side with 50% stretch.
- Apply a heel-lock strip starting from the inner ankle, crossing under the heel, and finishing on the outer ankle.
- Seal with a closing anchor strip across the top of the previous strips.
For Achilles tendon support, use a single I-strip from the heel to the calf belly with 25%–50% stretch directly over the tendon.
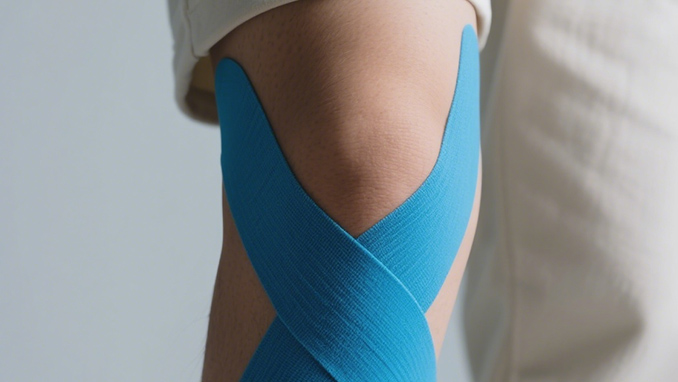
How to Apply Kinesiology Tape on the Wrist and Elbow
Wrist Support
Extend the wrist slightly. Apply a fan strip starting at the palm, spreading the tails across the wrist and forearm with 25% stretch. This technique supports tendons without immobilizing the joint.
Tennis Elbow (Lateral Epicondylitis)
Position the elbow in slight flexion with the palm facing down. Apply an I-strip from the lateral epicondyle (bony bump on the outer elbow) down the forearm with 25%–50% stretch. The anchor at the epicondyle should use 0% stretch. This reduces strain on the common extensor tendon origin.
Stretch Levels at a Glance
Understanding the correct stretch level for each purpose is critical to effective taping:
| Stretch Level |
Percentage |
Common Use |
| No Stretch |
0% |
Anchor points, tape ends |
| Light Stretch |
15%–25% |
Lymphatic drainage, posture correction |
| Moderate Stretch |
50% |
Muscle support, pain relief |
| Full Stretch |
75% |
Joint stabilization, ligament support |
| Maximum Stretch |
100% |
Rarely used; specific structural correction |
How Long Does Kinesiology Tape Stay On?
With proper preparation and a high-adhesion tape, kinesiology tape can stay on for 3 to 5 days, including through showering, swimming, and exercise. Key factors that affect wear time include:
- Skin cleanliness at time of application
- Rounded vs. square-cut tape ends
- Adhesive quality of the tape itself
- Amount of movement and sweat in the taped area
- Skin type (oily skin reduces adhesion)
To remove, peel slowly in the direction of hair growth. Applying baby oil or medical adhesive remover beforehand significantly reduces skin irritation.
Frequently Asked Questions
Q1: Can I apply kinesiology tape by myself?
Yes. Most standard applications for the knee, ankle, elbow, and lower back can be self-applied. Shoulder and upper back areas are more difficult and may benefit from a partner or mirror.
Q2: How much stretch should I use for pain relief vs. muscle support?
For pain relief and lymphatic effects, use 15%–25% stretch. For active muscle support or joint stabilization, use 50%–75% stretch.
Q3: Can I reuse kinesiology tape?
No. Kinesiology tape is designed for single use. Once the adhesive has bonded to skin and been removed, it cannot be reapplied effectively.
Q4: Is it safe to sleep with kinesiology tape on?
Yes, it is generally safe. The tape is breathable and flexible, so it does not restrict circulation during sleep.
Q5: Why does my tape keep peeling off at the edges?
The most common causes are square-cut ends, skin with lotion or oil, and applying the tape at full stretch all the way to the ends. Always leave 3–5 cm of unstretched tape at both anchor points and round the corners.
Q6: Can kinesiology tape be used on sensitive skin?
Yes, but perform a small patch test first. Leave a small piece on the inner arm for 24 hours before full application. Choose tapes with gentle, latex-free adhesive formulations for sensitive skin.


 English
  русский
  Français
  Español
  عربى
عربى 
 ENG
ENG

