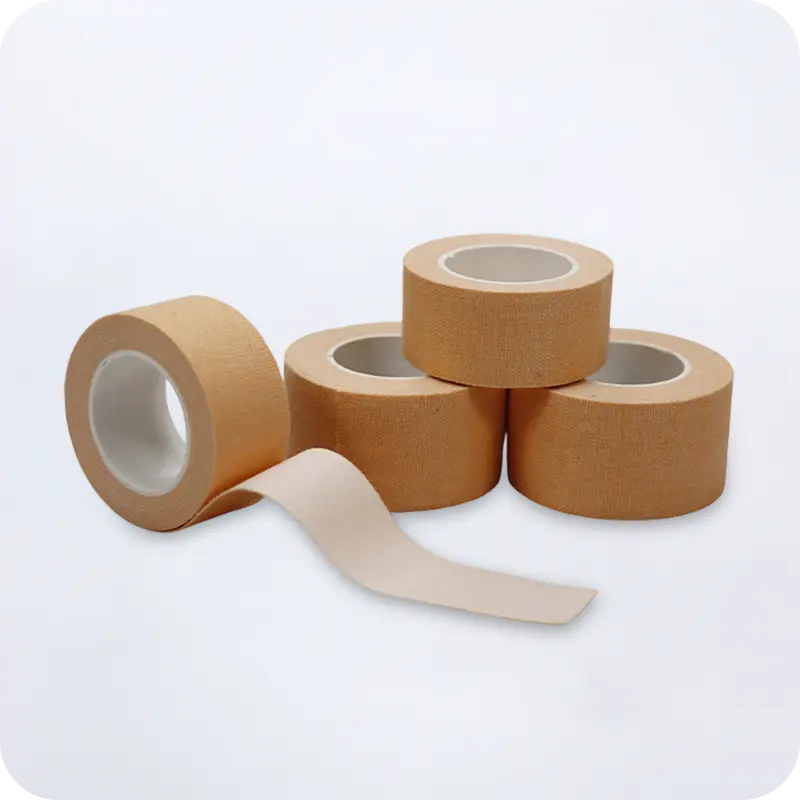
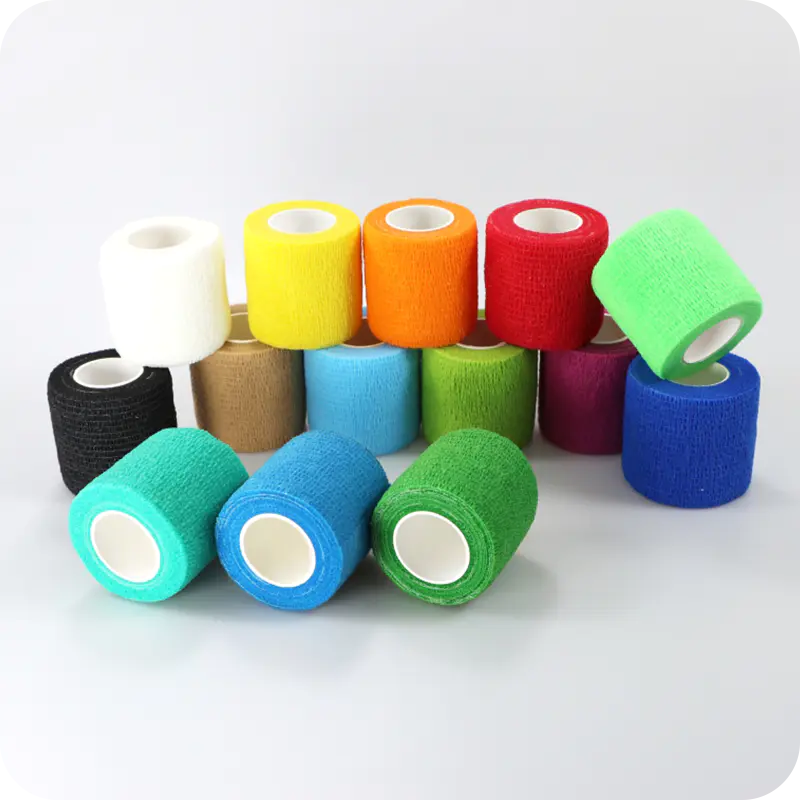
Self-adhesive elastic bandages are self-adhesive and elastic medical dressings primarily used to bandage and protect wounds, promoting wound healing. Their primary functions include securing and protecting wounds, preventing bacterial intrusion, and promoting wound healing. Self-adhesive elastic bandages are typically made of high-quality elastic materials and medical adhesives. They typically consist of a multi-layered structure, including a wound-contacting dressing layer, a middle elastic layer, and an outer protective layer.
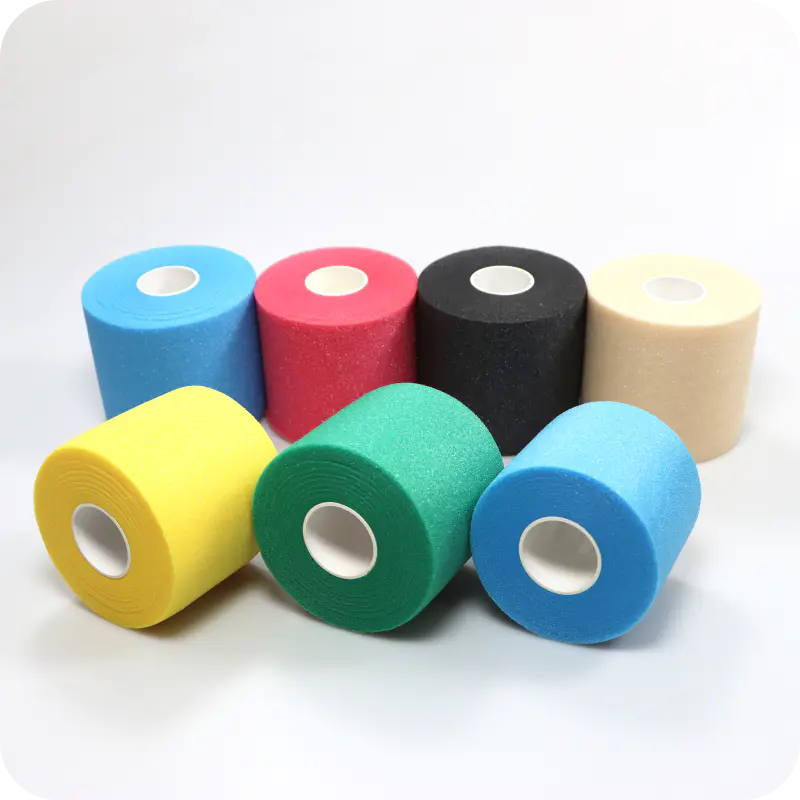
Shanghai Qinghong Healthcare Products Co., Ltd. located in Jiading District, Shanghai, is a leading manufacturer and supplier specializing in high-quality elastic bandages and athletic tape. Jiangsu Qinghong Healthcare Products Co., Ltd., headquartered in Suqian City, Jiangsu Province, has been committed to providing high-quality self-adhesive bandages, kinesiology tape, and cotton athletic tape to customers worldwide since its establishment in 2018. Leveraging strong R&D capabilities, stringent quality control, and customer-centric service, we have become a trusted partner in the industry.
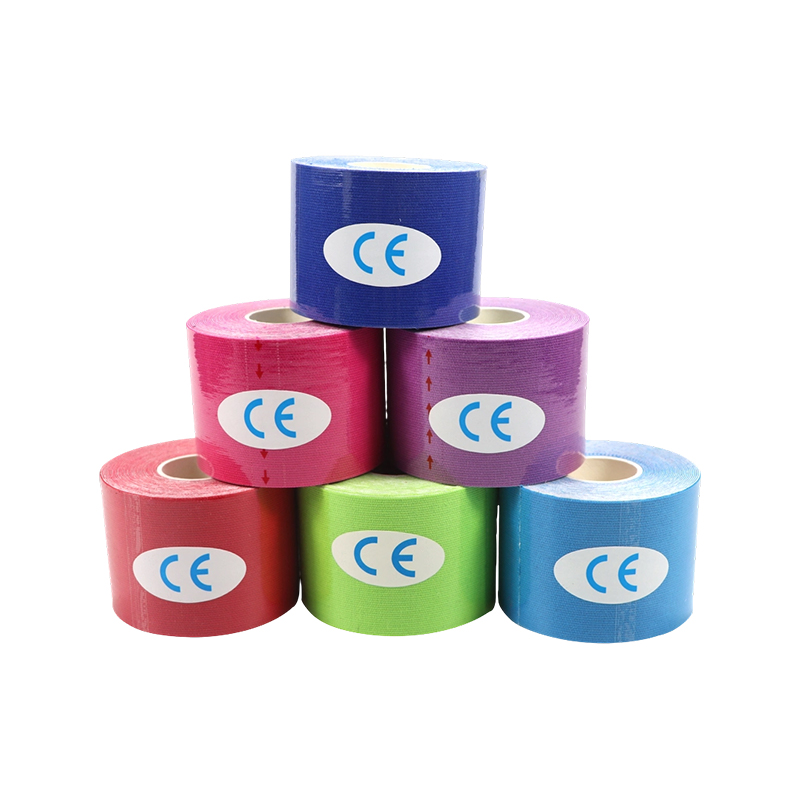
Empowering Athletes to Confidently Push Their Limits
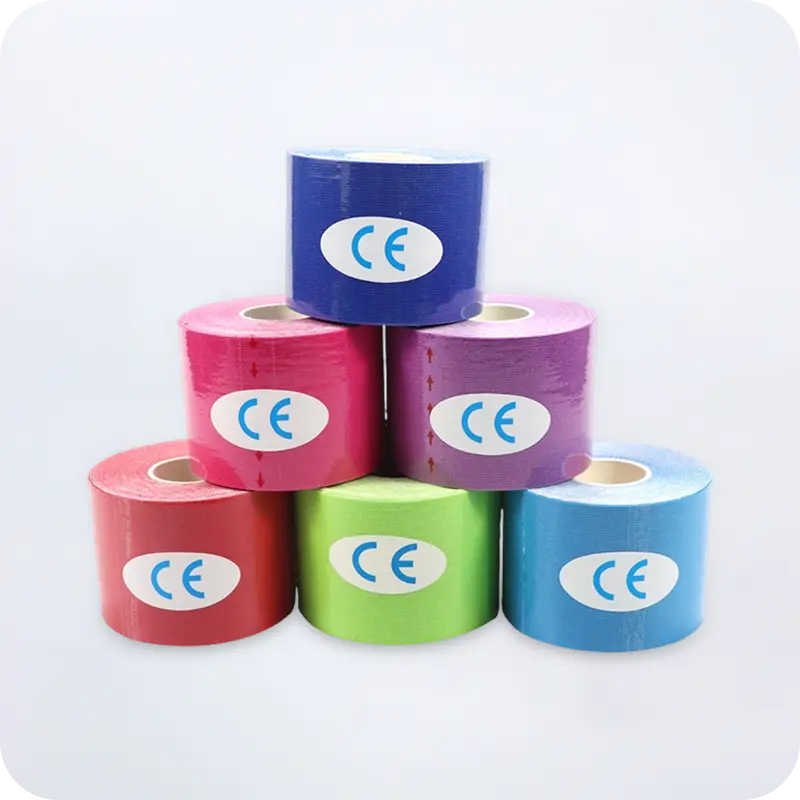
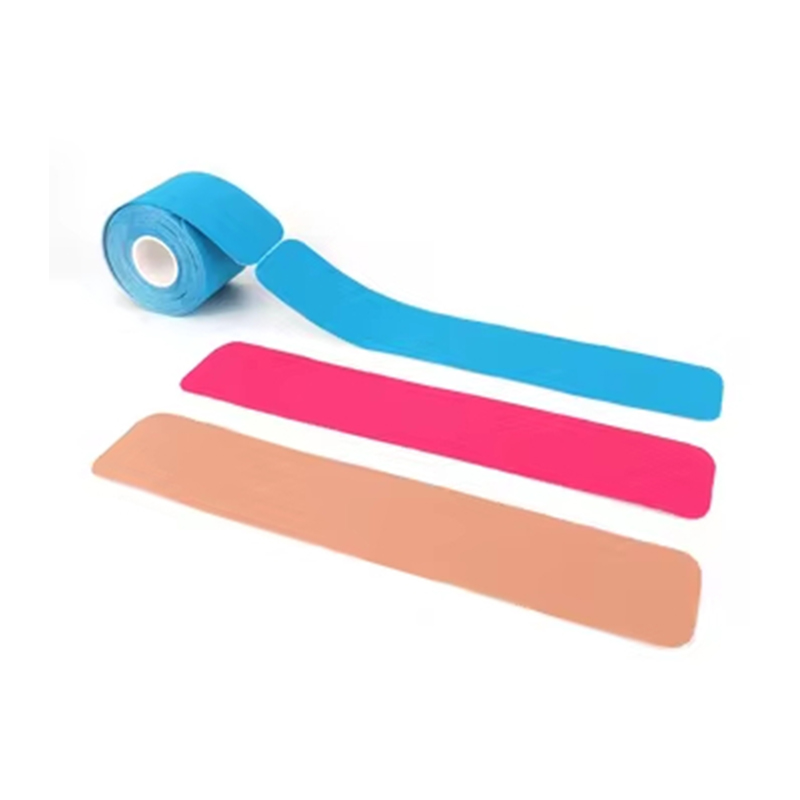
Our kinesiology tape delivers dynamic support, enabling unrestricted free movement while effectively enhancing muscle function and blood circulation. Our sports bandages, on the other hand, provide reliable fixation and stability for joints during high-intensity activities, effectively preventing sprains and strains. From sports enthusiasts to professional athletes, we offer trustworthy professional protection for both training and competitions.
Please feel free to contact us when you need us! Whether you want
to become our partner or need our professional guidance or support
in product selection and problem solving, our professional team is
always ready to help you.
How to Apply Kinesiology Tape for Shoulder Blade and Scapula Pain Relief
Anatomical Foundations of Scapular and Shoulder Blade Distress
The human shoulder girdle is an incredibly complex mechanical system. At the center of this network sits the scapula, commonly known as the shoulder blade. Unlike other major joints that rely primarily on deep bone-to-bone sockets for stability, the scapula is suspended on the posterior wall of the rib cage almost entirely by an intricate web of muscular and fascial tissues. This unique configuration, often referred to as a functional joint, grants the upper extremity an extraordinary range of motion. However, it also leaves the region highly susceptible to biomechanical failure, micro-trauma, and chronic functional imbalances.
When these stabilizing muscles experience fatigue, acute strain, or prolonged postural deformation, the resulting discomfort around the shoulder blade can become deeply debilitating. For athletes engaged in repetitive overhead movements, such as volleyball players, swimmers, or javelin throwers, as well as office professionals bound to computer workstations for long periods, this region is a frequent source of persistent stress. In managing these common musculoskeletal issues, utilizing kinesiology tape has emerged as an exceptionally effective, non-invasive modality to deliver immediate mechanical support, enhance proprioceptive awareness, and facilitate localized pain relief.
How Kinesiology Tape Interacts with Scapular Mechanics
To understand how kinesiology tape aids in resolving shoulder blade and scapular pain, one must move past the misconception that elastic athletic tape simply binds a joint in place like traditional, rigid medical tape. The therapeutic mechanism of high-quality elastic tape relies on its unique physical properties. It is engineered with an elasticity that closely mimics that of human skin, allowing it to stretch longitudinally while maintaining standard lateral tension. When properly applied to the skin overlying the scapular musculature, it acts through several distinct physiological pathways.
Neurosensory Feedback
The elastic recoiling action of the tape creates a gentle, continuous pulling force on the epidermal layer. This stimulation activates subcutaneous mechanoreceptors, sending a constant stream of sensory information to the central nervous system. This heightened proprioceptive feedback continuously reminds the brain of the shoulder blade's spatial positioning, encouraging automatic postural corrections and discouraging harmful movement patterns.
Microscopic Decompression
When applied with varying degrees of tension over targeted tissues, the tape forms microscopic convolutions or waves in the skin. This subtle lifting action decompresses the underlying interstitial space between the skin, fascial layers, and deep muscles. Consequently, pressure on localized pain receptors is reduced, while blood circulation and lymphatic drainage improve, accelerating the removal of inflammatory byproducts.
Furthermore, by strategically altering the direction and tension of the tape application, clinicians and athletes can either facilitate underactive, weakened muscle groups or inhibit hypertonic, overactive tissues. This dual capability makes elastic taping an invaluable tool for restoring proper scapulohumeral rhythm, which is the coordinated movement of the scapula relative to the humerus during arm elevation.
Essential Pre-Application Guidelines for Maximum Adhesion
Achieving optimal therapeutic outcomes requires proper preparation of both the materials and the cutaneous interface. Even the most structurally sound taping technique will fail prematurely if the underlying skin conditions or application mechanics are overlooked. To secure long-lasting adhesion and prevent skin irritation, several key steps must be taken before applying the first strip of tape.
Skin Cleansing and Degreasing: The target area must be completely free of sweat, body oils, moisturizers, and sunscreens. Cleanse the entire upper back and shoulder region vigorously using isopropyl alcohol wipes. Allow the skin to dry completely before applying the tape.
Managing Body Hair: Dense body hair creates physical spacing between the tape's acrylic adhesive layer and the epidermis, significantly reducing bond strength and limiting neurosensory activation. For areas with thick hair, trim or shave the region close to the skin at least several hours before application to minimize micro-abrasions.
Rounding the Tape Edges: Straight, sharp corners on cut tape strips are prone to catching on clothing fibers, causing the tape to peel back early. Always use sharp medical shears to cut and round off every corner of your tape strips into smooth curves before application.
Avoiding Tension on the Anchors: The initial and final portions of any tape strip, typically the first and last two inches, are called the anchors. These areas must always be applied with zero stretch. Placing tension on the anchor ends pulls excessively on the delicate epidermal layers, leading to friction blisters and early peeling.
Additionally, it is crucial to manage the adhesive's thermal activation. The medical-grade acrylic adhesive used on elastic tape is pressure- and heat-sensitive. Once a strip is placed on the skin, rub its surface briskly with the smooth backing paper or your hand. The frictional heat generated activates the adhesive bond, ensuring it withstands daily movement and showers.
Step-by-Step Taping Techniques for Scapular Support
Different structural issues around the shoulder blade require specific taping setups. Below are three detailed, step-by-step application methods designed to target specific functional areas of the posterior shoulder girdle. These techniques can be adapted based on whether the primary goal is muscle activation, postural retraining, or mechanical unloading.
Method 1: Postural Correction and Rhomboid Support (The Y-Strip & I-Strip Combination)
This setup focuses on reducing a protracted, rounded shoulder posture while supporting the rhomboid major and minor muscles, which pull the scapula back toward the spine. It is highly effective for individuals suffering from middle-back fatigue and burning sensations between the shoulder blades.
Step 1
Position the individual in a posture-corrected stance with the spine straight and shoulders slightly retracted. Measure and cut a primary strip of tape long enough to span from the medial border of the scapula across to the spine, along with a secondary mechanical stabilization strip.
Step 2
Anchor the first two inches of the primary tape strip over the lateral border of the shoulder blade near the posterior deltoid structure, ensuring this initial anchor has zero tension.
Step 3
Instruct the individual to move their arm across their chest to place the rhomboid muscles on a full structural stretch. Guide the tape medially toward the spinous processes, applying a moderate tension of approximately 25% to 50% along the working body of the strip.
Step 4
Lay down the final two inches of the strip flat against the skin parallel to the spine with absolutely zero tension. Rub the entire surface firmly to activate the adhesive backing.
Method 2: Upper Trapezius and Levator Scapulae Decompression
This application focuses on relieving tension in hypertonic muscles that elevate the scapula. It is particularly useful for individuals whose shoulder blades sit abnormally high or tilt due to daily stress, structural compensation, or repetitive overhead movements.
Step 1
Have the individual sit comfortably with their head tilted laterally away from the painful side, while gently depressing the shoulder blade downward to maximize the structural stretch on the upper trapezius fibers.
Step 2
Place a zero-tension anchor strip at the insertion point of the upper trapezius, located near the lateral third of the clavicle and the acromion process of the shoulder.
Step 3
Guide the body of the tape upwards along the lateral aspect of the neck toward the upper cervical vertebrae, applying a light tension of roughly 15% to 25%.
Step 4
Apply the remaining two inches of the tape strip right below the hairline with no tension. Rub the strip thoroughly to establish a durable, reliable bond.
Method 3: Mechanical Unloading for Rotator Cuff and Lower Scapular Stability
Often utilized by competitive sports practitioners, this technique provides stability to the posterior rotator cuff muscles while assisting the lower trapezius with upward scapular rotation during overhead movements.
Step 1
Position the arm in a neutral stance with the elbow flexed at 90 degrees. Secure a base anchor strip directly onto the lateral aspect of the humerus, right over the insertion point of the deltoid muscle group.
Step 2
Have the individual bring their arm across their abdomen, rotating the shoulder outward to stretch the posterior joint capsule. Route the tape upward and backward over the infraspinatus and teres minor zones, using 50% tension.
Step 3
Continue running the tape strip over the inferior angle of the shoulder blade, curving it down toward the lower thoracic vertebrae to support the lower trapezius fibers.
Step 4
Lay down the final anchor section cleanly across the spine without stretch. Rub the entire strip thoroughly to secure the application.
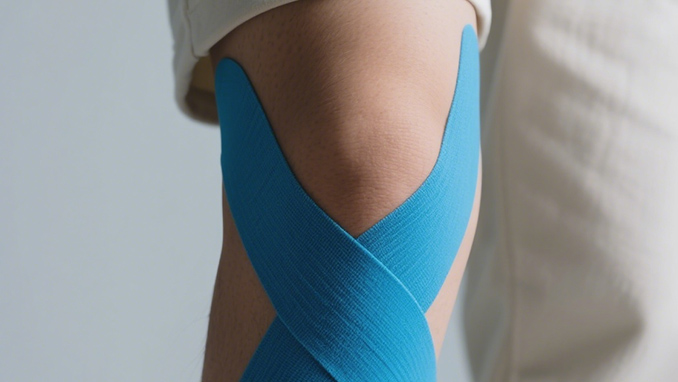
Visualizing the Completed Scapular Taping Application
To achieve the highest degree of structural support, it can be helpful to view a professional application. The following image demonstrates a precise, clean multi-strip setup that integrates mechanical unloading across the posterior deltoid, upper back, and medial scapular borders, ensuring structural stabilization without restricting the joint's natural range of motion.
Tension Protocols and Mechanical Variations
Varying the amount of tension applied to the working body of the elastic tape allows for targeted therapeutic effects. Applying tape with heavy tension creates a firm, structural pull that mechanically limits excessive movement. In contrast, lighter tension focuses on stimulating dermal mechanoreceptors to enhance proprioception without restricting joint range. Choosing the right tension protocol depends on the specific clinical presentation and functional goals.
Taping Objective
Target Musculature
Recommended Tension
Primary Physiological Goal
Postural Realignment
Rhomboids & Middle Trapezius
25% to 50% Tension
Promotes scapular retraction and counteracts rounded shoulders.
Muscle Decompression
Upper Trapezius & Levator Scapulae
15% to 25% Tension
Lifts epidermal layers to enhance fluid flow and reduce local pain.
Joint Stabilization
Posterior Deltoid & Rotator Cuff
50% to 75% Tension
Provides mechanical support during dynamic, high-velocity movements.
Lymphatic Clearance
Periscapular Interstitial Spaces
0% to 15% Tension
Creates superficial skin wrinkling to facilitate swelling drainage.
When executing these strategies, remember that excessive tension is not inherently superior. Applying too much stretch can overwhelm the skin's natural elasticity, leading to premature peeling, skin irritation, or restricted movement. For chronic, long-term discomfort, lighter tension over an extended period often yields more sustainable therapeutic results than heavy, aggressive setups.
Safe Wear Criteria and Dermatological Tape Removal
The clinical effectiveness of kinesiology tape relies on its ability to maintain consistent elastic tension over several consecutive days. High-quality tapes are engineered to endure showering, swimming, and high-intensity workout sessions. However, protecting skin health requires adhering to proper wear and removal protocols.
Crucial Dermatological Note: Never wear a single taping setup for more than three to five consecutive days. Over time, the elastic fibers lose their resilience, reducing therapeutic efficacy. Prolonged contact can also trap sweat and environmental moisture underneath, increasing the risk of skin maceration and irritation.
When removing the tape, never rip or pull it away from the skin quickly, as this can tear the epidermal layers. Instead, follow these steps for safe, pain-free removal:
Saturate the Strip: Soak the tape strips thoroughly in mineral oil, baby oil, or olive oil. Let it sit for approximately ten minutes to break down the medical-grade acrylic adhesive bond.
Support the Skin: Press down firmly on the skin right next to the edge of the tape strip you are about to lift.
Peel Parallel to the Skin: Gently roll or peel the tape back slowly in the direction of natural hair growth. Keep the tape flat and close to the skin's surface as you peel, rather than pulling it straight up at a right angle.
Moisturize Afterward: Wash the area with mild soap and water to remove any residual oil or adhesive, then apply a soothing moisturizer to help the skin recover.
Q1: Can I apply kinesiology tape to my own shoulder blade independently?
While it is possible to prepare and apply tape to certain accessible areas of the anterior shoulder independently, taping the posterior shoulder blade and upper back region typically requires assistance. Achieving the correct muscle stretch, accurate alignment along the medial border of the scapula, and wrinkle-free tension application is difficult to perform alone. For optimal results, have a trained partner, coach, or clinician apply the tape while following a reliable application guide.
Q2: How quickly should I expect relief from shoulder blade discomfort after taping?
Many individuals report an immediate reduction in localized discomfort and an improved sense of structural stability shortly after application. This rapid response is largely due to immediate neurosensory feedback and decompression of pain receptors. For deeper structural issues or chronic postural fatigue, structural improvements and tissue recovery typically develop over several days of consistent use alongside targeted physical therapy exercises.
Q3: What should I do if I experience itching or redness under the tape?
If you experience persistent itching, burning, or redness under or around the tape, remove the application immediately. While high-quality elastic athletic tapes are hypoallergenic and latex-free, individual skin sensitivities can still occur. These reactions may stem from applying excessive tension to the anchors, underlying skin irritation, or heat and sweat buildup beneath the adhesive layer. Allow the skin to fully recover before attempting another application.
Q4: Is it safe to shower or swim while wearing a periscapular tape setup?
Yes, high-quality elastic tapes are designed with water-resistant properties that withstand standard showering and swimming sessions. After exposure to water, gently pat the tape dry with a clean towel; avoid rubbing it vigorously, as friction can lift the edges. Do not use a hairdryer on a hot setting to dry the tape, as excessive heat can over-activate the acrylic adhesive, making removal difficult and increasing the risk of skin irritation.
Q5: How does kinesiology tape differ from traditional white athletic tape?
Traditional white athletic tape is rigid and non-stretchable, designed to restrict joint movement and lock a structure in place to prevent further injury. In contrast, kinesiology tape is highly elastic, flexing dynamically with your body's movements. It supports muscles and joints, enhances proprioceptive awareness, and improves circulation without restricting your natural range of motion.


 English
  русский
  Français
  Español
  عربى
عربى 
 ENG
ENG

