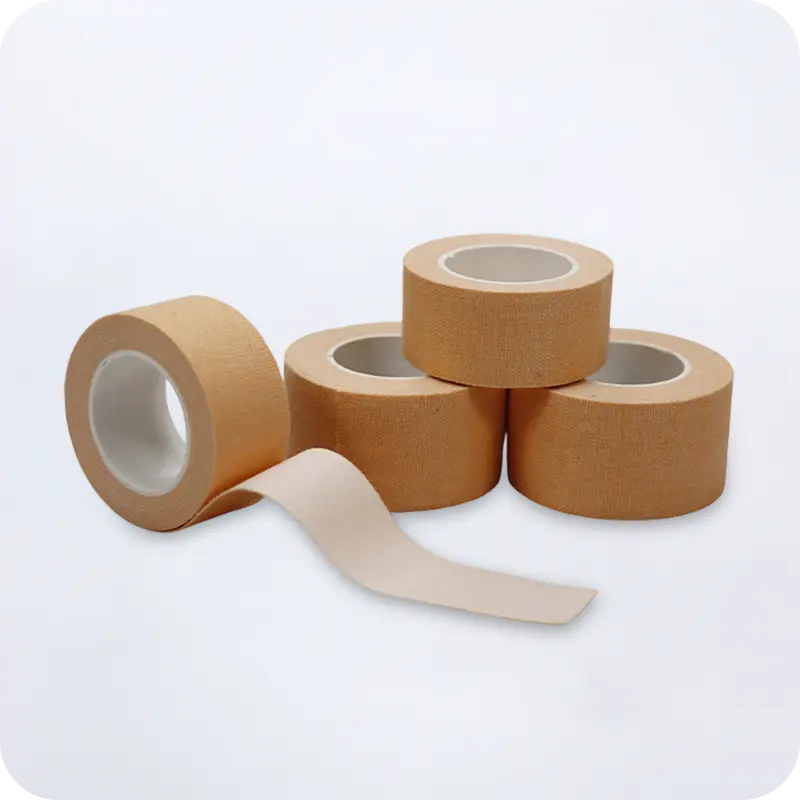
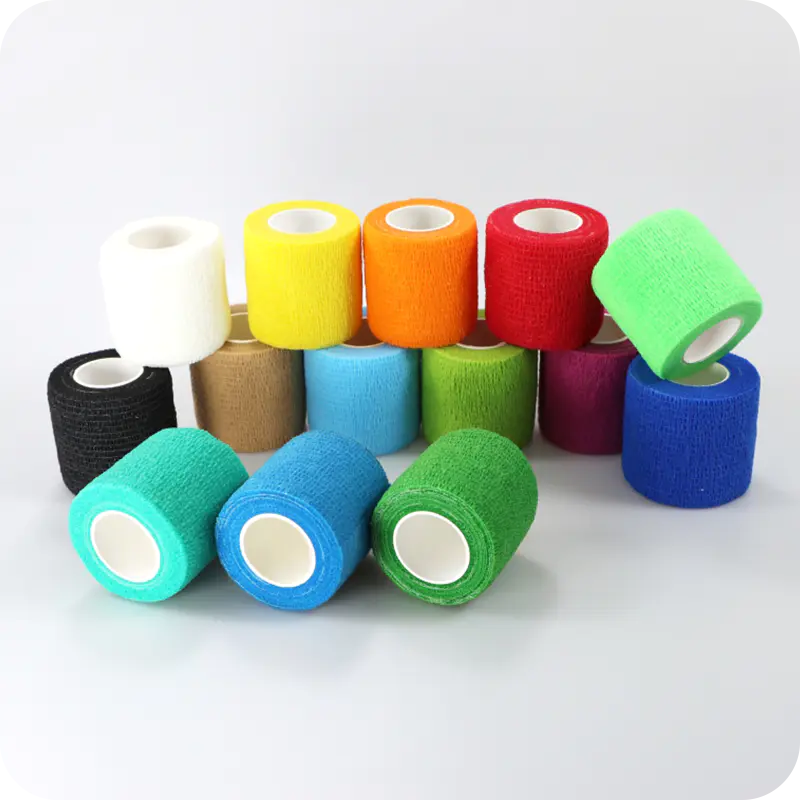
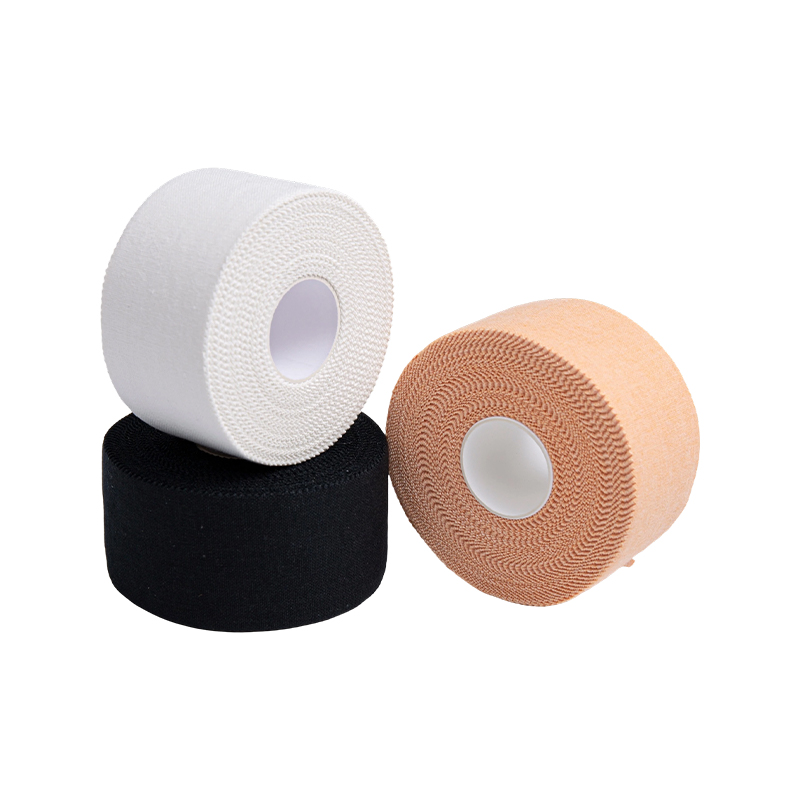
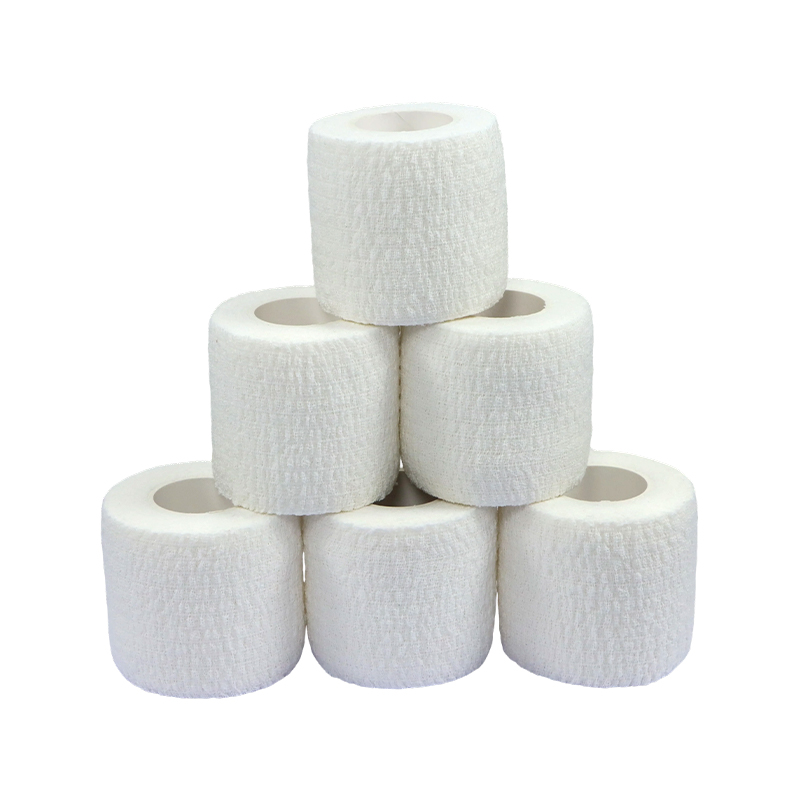
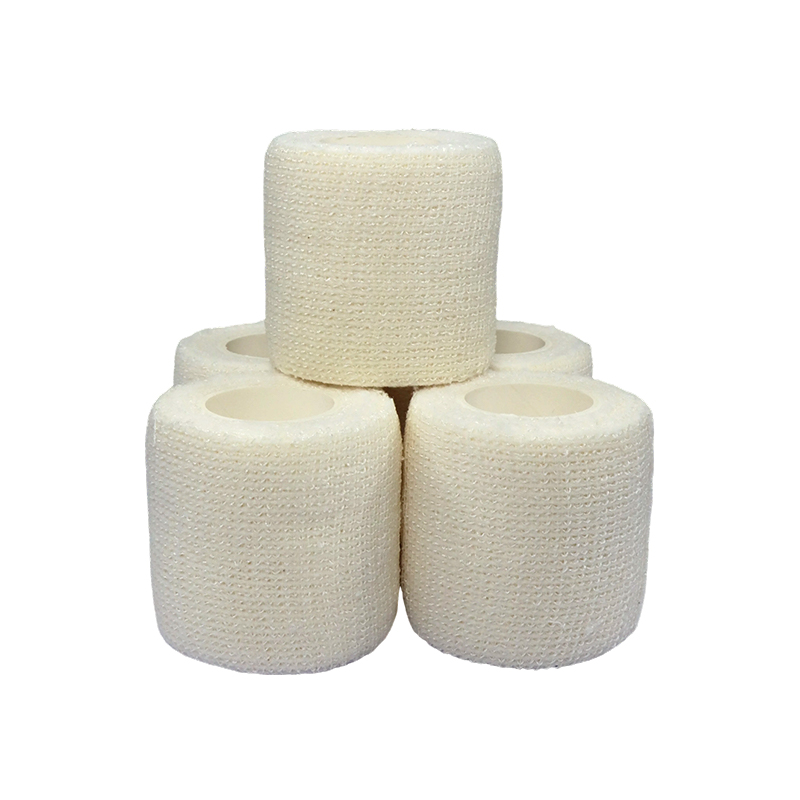
Self-adhesive elastic bandages are self-adhesive and elastic medical dressings primarily used to bandage and protect wounds, promoting wound healing. Their primary functions include securing and protecting wounds, preventing bacterial intrusion, and promoting wound healing. Self-adhesive elastic bandages are typically made of high-quality elastic materials and medical adhesives. They typically consist of a multi-layered structure, including a wound-contacting dressing layer, a middle elastic layer, and an outer protective layer.
Shanghai Qinghong Healthcare Products Co., Ltd. located in Jiading District, Shanghai, is a leading manufacturer and supplier specializing in high-quality elastic bandages and athletic tape. Jiangsu Qinghong Healthcare Products Co., Ltd., headquartered in Suqian City, Jiangsu Province, has been committed to providing high-quality self-adhesive bandages, kinesiology tape, and cotton athletic tape to customers worldwide since its establishment in 2018. Leveraging strong R&D capabilities, stringent quality control, and customer-centric service, we have become a trusted partner in the industry.
Empowering Athletes to Confidently Push Their Limits
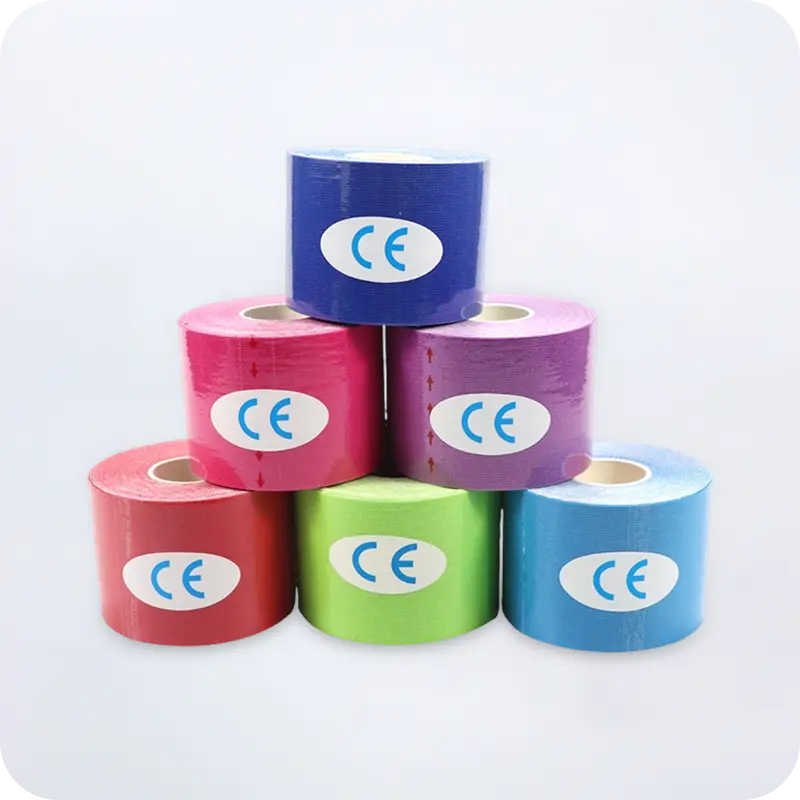
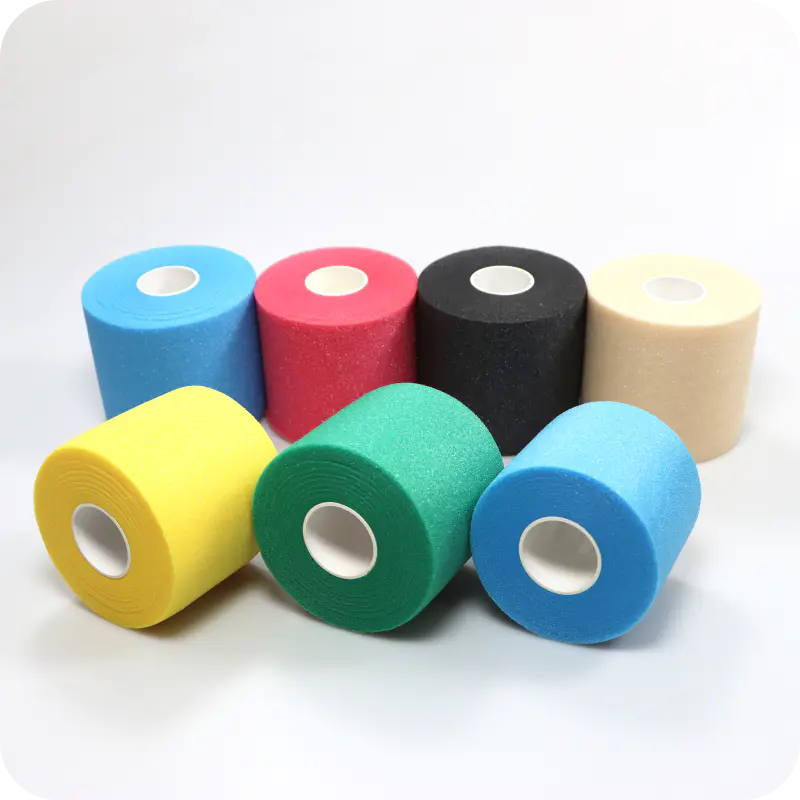
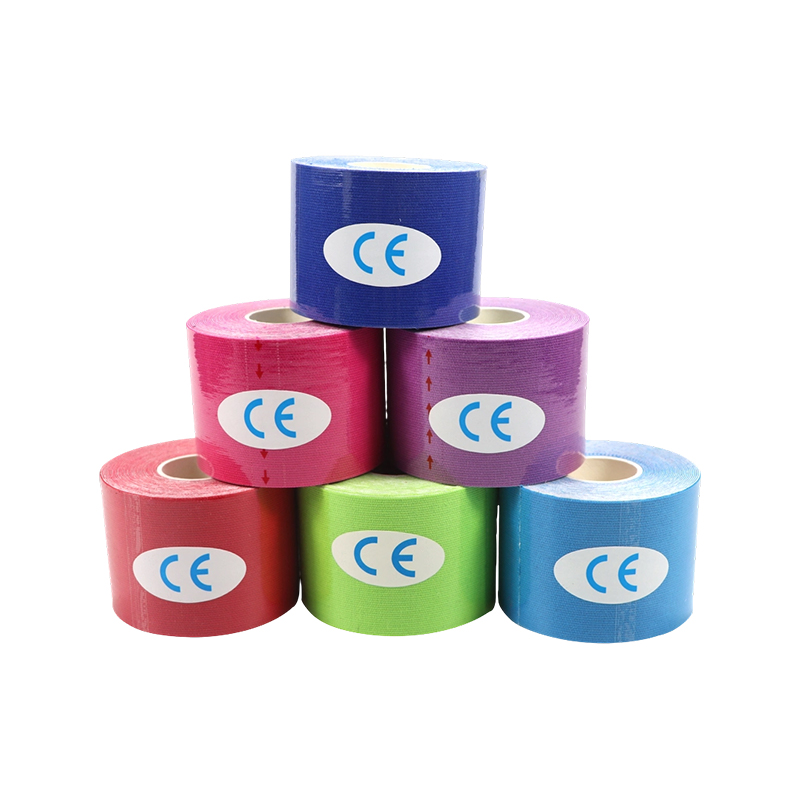
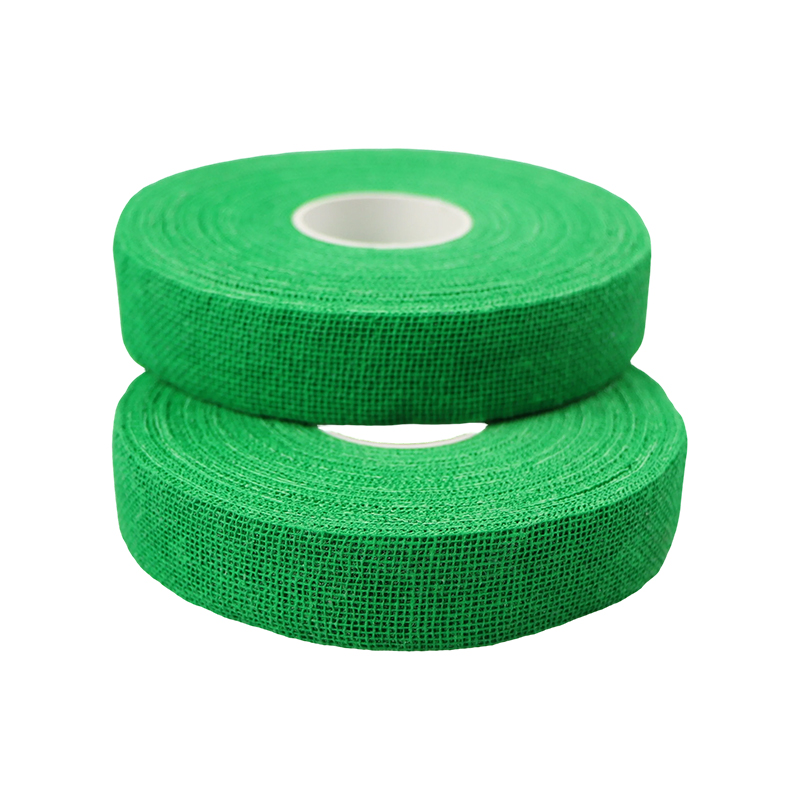
Our kinesiology tape delivers dynamic support, enabling unrestricted free movement while effectively enhancing muscle function and blood circulation. Our sports bandages, on the other hand, provide reliable fixation and stability for joints during high-intensity activities, effectively preventing sprains and strains. From sports enthusiasts to professional athletes, we offer trustworthy professional protection for both training and competitions.
Please feel free to contact us when you need us! Whether you want
to become our partner or need our professional guidance or support
in product selection and problem solving, our professional team is
always ready to help you.
Home / Knowledge&Blog / Industry News / How to Choose Between Athletic Taping and Kinesiology Taping for Ankle Stability and Sprains
Industry News
konw more about us
Home / Knowledge&Blog / Industry News / How to Choose Between Athletic Taping and Kinesiology Taping for Ankle Stability and Sprains
Posted by Qinghong
How to Choose Between Athletic Taping and Kinesiology Taping for Ankle Stability and Sprains
The Landscape of Ankle Injuries and Taping Interventions
Ankle injuries, particularly lateral ankle sprains, represent one of the most frequent musculoskeletal issues across both athletic and general populations. The complex anatomical network of ligaments surrounding the talocrural and subtalar joints requires robust structural integrity to withstand dynamic multi-planar forces. When these biological restraints are compromised by sudden inversion or eversion mechanisms, external support systems become critical components of clinical management and performance preservation strategies.
Modern sports medicine relies heavily on mechanical and sensory taping modalities to address joint laxity, reduce pain, and restore functional mobility. Selecting the optimal intervention requires a comprehensive understanding of the mechanical differences between traditional rigid systems and elastic therapeutic webs. Rather than viewing these materials as interchangeable utilities, practitioners must evaluate them as distinct therapeutic mechanisms with divergent physiological pathways.
Clinical Insight: The primary differentiation between taping modalities lies in the balance between mechanical immobilization and neuromuscular facilitation. Choosing the wrong method can either restrict natural joint biomechanics unnecessarily or fail to provide sufficient structural resistance against high-impact forces.
This comprehensive clinical analysis explores the operational mechanisms, practical application steps, and comparative therapeutic outcomes of using traditional rigid sports strapping tape versus elasticized kinesiology tape. By analyzing structural differences, tensile capacities, and neurological feedback loops, sports professionals, therapists, and athletes can make data-driven decisions tailored to specific stages of injury recovery and athletic demands.
Material Anatomy: Rigid Zinc Oxide vs. Elastic Kinesiology Polymers
The operational efficacy of any taping application depends entirely on the physical characteristics of its substrate material. Understanding the textile composition, tensile behaviors, and adhesive qualities of these materials explains why they perform differently under mechanical stress.
Rigid Athletic Tape and Zinc Oxide Substrates
Traditional athletic tape is typically constructed from high-tensile, non-elastic cotton backings coated with a heavy-duty zinc oxide adhesive formulation. The primary design objective is absolute structural resistance. The lack of elasticity ensures that once the material is applied across a joint axis, it creates a rigid mechanical block that prevents movement past specified structural thresholds.
To optimize safety and comfort during rigid immobilization, a polyurethane foam layer known as pre wrap ankle tape is applied directly to the skin beforehand. This barrier shields the epidermal layers from the aggressive adhesive formulas of zinc oxide tape ankle systems, preventing skin maceration, shear blisters, and hair pulling during removal, while maintaining structural alignment.
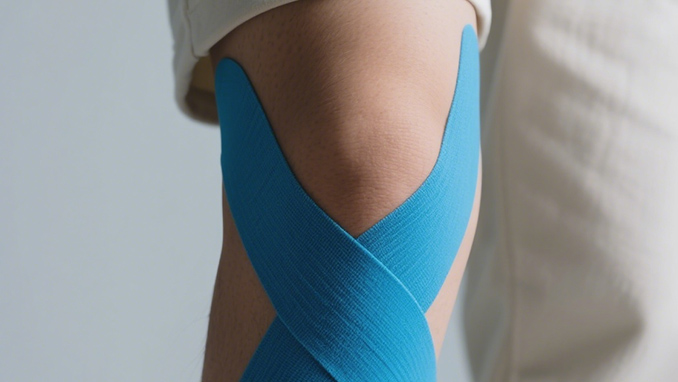
Kinesiology Tape Engineering and Polymer Dynamics
In contrast, kinesiology tape features an advanced elastic architecture designed to mimic the weight, thickness, and elasticity of human skin. Woven with specialized cotton fibers wrapped around premium synthetic polyurethane elastane cores, this material can stretch longitudinally up to 130 to 140 percent of its resting length, while resisting cross-stretching.
The medical-grade acrylic adhesive is applied in a wave-like pattern rather than a solid coat. This pattern generates mechanical lifting forces on the skin during movement, which helps manage localized pressure. This unique design allows a kinesio tape ankle setup to provide continuous sensory feedback without mechanically restricting natural joint movement.
0%
Elastic Strain of Rigid Tape
140%
Max Longitudinal Stretch of K-Tape
48-72h
K-Tape Wearable Duration
Biomechanical Mechanisms: Mechanical Restriction vs. Neuromuscular Facilitation
The choice between rigid and elastic taping methods represents two completely different approaches to sports medicine: one physically immobilizes the joint, while the other enhances sensorimotor feedback.
Rigid sports tape for ankle injury management creates an external skeletal structure. By binding the calcaneus and talus securely to the distal tibia and fibula, it prevents excessive inversion or eversion movements. This physical stabilization is essential during acute rehabilitation stages when injured ligaments cannot handle standard physiological loads.
Alternatively, implementing a kinesiology tape ankle stability protocol focuses on stimulating the nervous system rather than restricting movement. The elastic recoil of the tape lifts the epidermal layer away from the underlying deep fascia. This space reduction decreases pressure on interstitial nociceptors, which helps alleviate pain while accelerating localized lymphatic drainage to reduce swelling.
Furthermore, the persistent sensory feedback provided by elastic polymers against the skin improves joint position awareness, or proprioception. When the ankle begins to roll, the stretched tape pulls on the skin, alerting the nervous system to engage the peroneal muscles and correct the joint position before an inversion sprain occurs.
Comprehensive Protocol: How to Wrap Ankle with Athletic Tape
Using rigid tape effectively requires strict adherence to anatomical landmarks and a precise application sequence. This classic approach, often called the basketweave ankle taping technique, provides maximum protection against lateral inversion sprains.
Preparation Requirements
Before applying any tape, clean the skin thoroughly to remove sweat, oils, or lotions. If necessary, shave the lower leg from the mid-calf down to the foot to improve tape adhesion and ensure painless removal. Position the patient with their foot extended off the edge of a treatment table, maintaining a strict 90-degree ankle angle throughout the entire process.
Step-by-Step Mechanical Application
Underlayment Placement: Apply a light layer of pre-wrap foam starting from the distal calf down to the metatarsal heads, keeping overlaps consistent to prevent skin irritation.
Anchor Strips: Apply two overlapping anchor strips of 38mm rigid athletic tape at the upper edge of the pre-wrap, just below the calf muscle belly. Angle these anchors slightly downward to match the natural shape of the lower leg. Place an additional anchor strip around the mid-foot area, taking care not to squeeze the fifth metatarsal head.
Stirrup Reinforcements: Starting at the medial side of the upper anchor, run a strip of tape down past the medial malleolus, beneath the heel, and pull it up with firm tension to secure it on the lateral anchor. For common inversion injuries, always pull from the inside to the outside to help hold the foot in a slightly turned-out position.
Horseshoe Strips: Apply a horizontal strip starting at the internal foot anchor, wrapping around the back of the Achilles tendon, and ending at the external foot anchor. Alternate three stirrups and three horseshoes in an overlapping pattern to form a strong structural basketweave.
Figure-Eight Stabilizers: Start on the top of the foot, bring the tape under the arch, loop back up across the front of the ankle, and wrap around the lower leg just above the ankle bones to form a secure figure-eight pattern.
Heel Locks: Start at the front of the ankle joint, run the tape diagonally across the side of the heel, loop under the sole, and bring it back up to the opposite side. Apply two heel locks on each side to properly stabilize the subtalar joint.
Final Closure: Cover any remaining open areas with circular closing strips to ensure a clean finish and prevent raw edges from peeling during activity.
Advanced Protocol: How to Wrap Ankle with Kinesiology Tape
Learning how to apply kinesiology tape ankle systems requires a completely different approach compared to working with rigid materials. Instead of immobilizing the joint, the goal here is to carefully manage tape tension to optimize sensory feedback and support natural movement patterns.
Skin Preparation and Handling
Round all the corners of your tape strips using scissors before application. This simple step prevents the sharp edges from catching on clothing or socks, which significantly extends the wearable life of the application. Ensure the skin is completely dry and free of moisture before applying the adhesive anchors without any tension.
Strip One (The Decompression Base): Position the ankle in full flexion. Secure a 2-inch wide strip of kinesiology tape to the outer mid-foot, just ahead of the lateral ankle bone. Extend the tape upward along the front of the lower leg, applying light to moderate tension (around 25 to 50 percent). This strip helps support the anterior talofibular ligament and stimulates the peroneal muscles to prevent excessive inward rolling.
Strip Two (The U-Shaped Sling): Start an anchor strip on the upper outer side of the lower calf. Guide the tape down under the heel with zero tension. Once under the foot, stretch the tape firmly (50 to 75 percent tension) and pull it upward along the inner side of the ankle. Secure the final anchor end near the upper inner calf without any tension.
Strip Three (The Structural Figure-Eight): Secure the anchor of a final strip to the top of the foot. Wrap the tape across the bottom of the foot toward the inner arch under moderate tension, then pull it diagonally back across the front of the ankle. Wrap it around the lower leg just above the ankle bones to finish a complete supportive figure-eight pattern.
Once all sections are in place, rub the surface of the tape firmly from the center outward. The heat generated from friction activates the medical-grade acrylic adhesive, ensuring a secure bond with the skin.
Head-to-Head Comparison: Performance Profiles and Indications
Choosing between an athletic ankle wrap and an elastic k-tape application requires analyzing several functional factors. The table below outlines how these two options compare across key performance metrics:
Performance Metric
Rigid Zinc Oxide Systems
Elastic Kinesiology Polymers
Primary Function
Mechanical limitation of joint range
Proprioceptive neuromodulation and drainage
Range of Motion
Significantly restricted across target axes
Full functional range preserved
Wearable Lifespan
Single athletic session (under 12 hours)
Multi-day endurance (3 to 5 days)
Water Resistance
Low (loosens with sweat or water)
High (hydrophobic quick-drying options)
Edema Management
Can restrict flow if wrapped too tightly
Actively aids lymphatic drainage channels
The Clinical Dilemma: Taping Modalities vs. Structural Orthoses
A common question in sports rehabilitation is whether to use custom taping interventions or off-the-shelf structural braces. Both options offer unique advantages depending on the setting, budget, and stage of recovery.
Selecting an ankle brace vs tape setup involves balancing convenience against customized support. Removable braces are convenient, reusable, and easy for athletes to adjust themselves without needing professional assistance. However, they are often bulky and can alter gait mechanics or fit poorly inside standard athletic footwear.
Conversely, customized taping allows a trained clinician to tailor the support exactly to the patient's anatomy, providing targeted relief right where it is needed most. The main drawbacks are the ongoing cost of materials over time and the fact that rigid tape naturally loses some of its structural stiffness after about 30 to 45 minutes of intense exercise due to material fatigue.
Evidence-Based Application Strategies for Specific Injuries
To get the best results, taping techniques should match the specific injury pattern and stage of tissue healing.
Acute Phase Swelling Management
During the first 48 hours after an inversion injury, managing swelling is the top priority. Using a kinesio tape ankle swelling application can be very effective here. By cutting a strip of k-tape into a multi-tailed fan shape and laying the smooth ends over localized bruising without tension, you create gentle lifting zones on the skin. This decompression encourages fluid movement away from the injury site, helping to accelerate tissue recovery.
Protecting Ligaments During High-Impact Sports
When an athlete returns to agility-focused sports like basketball, soccer, or trail running, protecting recovering ligaments from re-injury is paramount. In these high-impact situations, traditional rigid tape applied with a structured basketweave offers superior protection by limiting excessive joint movement during sudden pivots and cutting maneuvers.
For a comprehensive approach, many trainers use a hybrid method: applying elastic k-tape underneath to stimulate proprioception, and layering rigid zinc oxide tape on top to provide strong mechanical stability.
Frequently Asked Questions
Q1: Can I leave rigid athletic tape on my ankle overnight after a game?
No, it is not recommended to keep rigid tape on overnight. Because zinc oxide adhesives are stiff and applied tightly, they can compress blood vessels and nerves when your body rests. Always remove rigid applications shortly after finishing your activity to let the skin breathe and prevent circulatory issues.
Q2: How do I know if my kinesiology tape has too much tension on the ends?
If you notice skin redness, itching, or blisters forming right around the ends of the tape, it usually means the anchors were applied with too much stretch. To prevent skin irritation, the first and last two inches of any kinesiology tape strip should always be applied completely flat without any tension.
Q3: Is it safe to apply kinesiology tape directly over an open wound or abrasion?
No, you should never apply adhesive tapes directly over broken skin, open wounds, or active infections. Doing so can trap moisture and bacteria, increasing the risk of infection and skin damage. Always ensure the skin is fully healed and clean before taping.
Q4: Why does my rigid tape application feel loose after thirty minutes of running?
Rigid cotton tapes naturally stretch and soften slightly as they handle repeated mechanical stress and body heat during exercise. While they still provide helpful positional feedback, their absolute structural support drops after about 30 to 45 minutes of intense movement.
Q5: Can I reuse a strip of kinesiology tape after taking a shower?
You can continue wearing the same kinesiology tape application after showering because it is water-resistant, but you cannot reapply a strip once it has been peeled off. To dry it after a shower, gently pat the tape with a towel—avoid using a hair dryer, as heat can over-activate the adhesive and make removal painful.


 English
  русский
  Français
  Español
  عربى
عربى 
 ENG
ENG

