How to Bandage a Finger: The Short Answer
You reach for a dish in the kitchen, and a sharp edge slices through the side of your index finger. Blood wells up, and you have around thirty seconds before the paper towel is soaked. The fastest safe approach is straightforward: clean the wound, cover it with a sterile pad, and wrap a self-adhesive elastic bandage from the fingertip toward the base. Stop when the dressing feels snug; if the fingertip goes pale or numb, loosen it immediately.
The practical points matter more than a diagram. The choice of material, the direction of the wrap, and the tension decide whether the dressing will hold and whether your fingertip keeps a healthy blood supply. That is why the short answer above deserves a full walk-through.
Step 1: Assess the Injury Before Bandaging
Before you reach for the bandage, take a few seconds to evaluate the finger. The way you dress a minor scrape is different from how you handle a deep cut, a suspected fracture, or a fingertip injury with nail involvement. A quick check now can save you from a wound that needs stitches or a joint that is more damaged than it looks.
Wash your hands and the injured area with clean water. Hold a clean cloth over the wound and apply steady pressure for several minutes. If blood soaks through, do not remove the cloth; add another layer on top. Keep the injured finger elevated to reduce swelling.
Table 1: Injury assessment and bandaging decision guide
| Injury Type |
Home Bandaging Action |
When to See a Doctor |
| Minor cut or scrape |
Clean, cover with a pad, wrap gently |
Bleeding stops within 10 minutes |
| Deep cut with gaping edges |
Apply pressure, bandage loosely |
Wound edges do not come together |
| Fingertip or nail injury |
Cover with a non-stick pad, wrap gently |
Nail damage, loss, or wound at the nail base |
| Swelling, discoloration, or tenderness |
Support with an elastic bandage |
Cannot bend the finger or pain feels severe |
| Puncture wound or animal bite |
Clean thoroughly, apply antibiotic ointment |
Always see a doctor |
| Infection signs: redness, warmth, pus |
Keep covered, change dressing daily |
Red streaks, fever, or spreading redness |
Step 2: Choose the Right Finger Bandage
Fingers are curved, constantly moving, and narrow, which is why regular adhesive strips peel off quickly. The right material depends on whether you need to cover a wound, support a joint, or both.
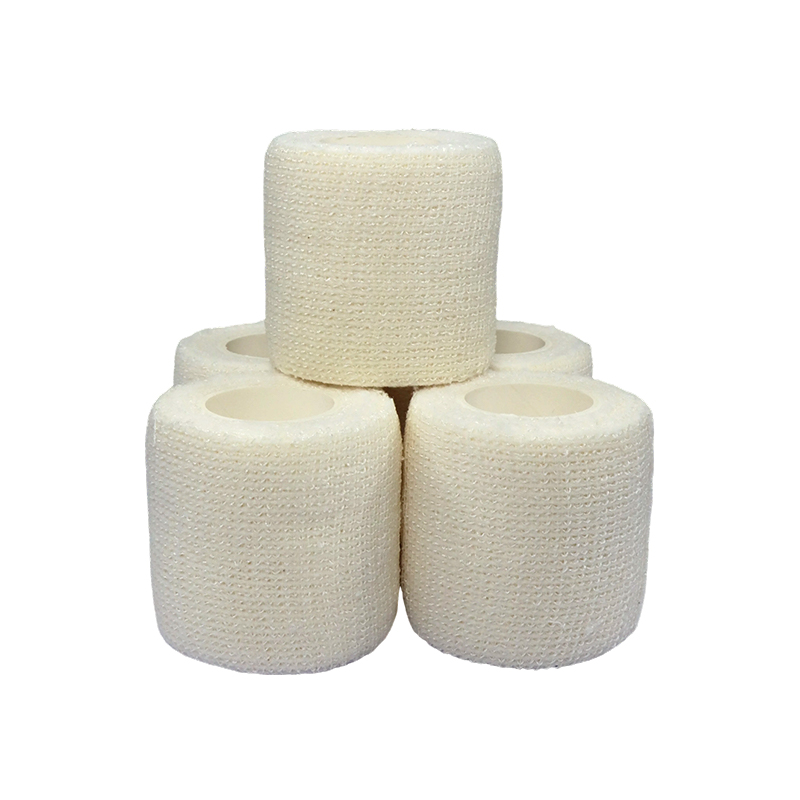
A self-adhesive cohesive bandage is often the best choice for daily finger bandaging. It stretches, conforms to the finger, and sticks only to itself, so it does not damage the rest of your hand. If your wound is at the tip, a fingertip bandage or a small self-adhesive wrap stays in place far better than a standard strip.
Table 2: Finger bandage types and their best use cases
| Bandage Type |
Best For |
Key Feature |
| Adhesive bandage |
Minor cuts |
Quick, but can slip on curved fingers |
| Fingertip bandage |
Fingertip cuts |
Wide wings anchor around the nail |
| Self-adhesive cohesive wrap |
Wounds, swelling, general protection |
Stretches, sticks only to itself, no pins |
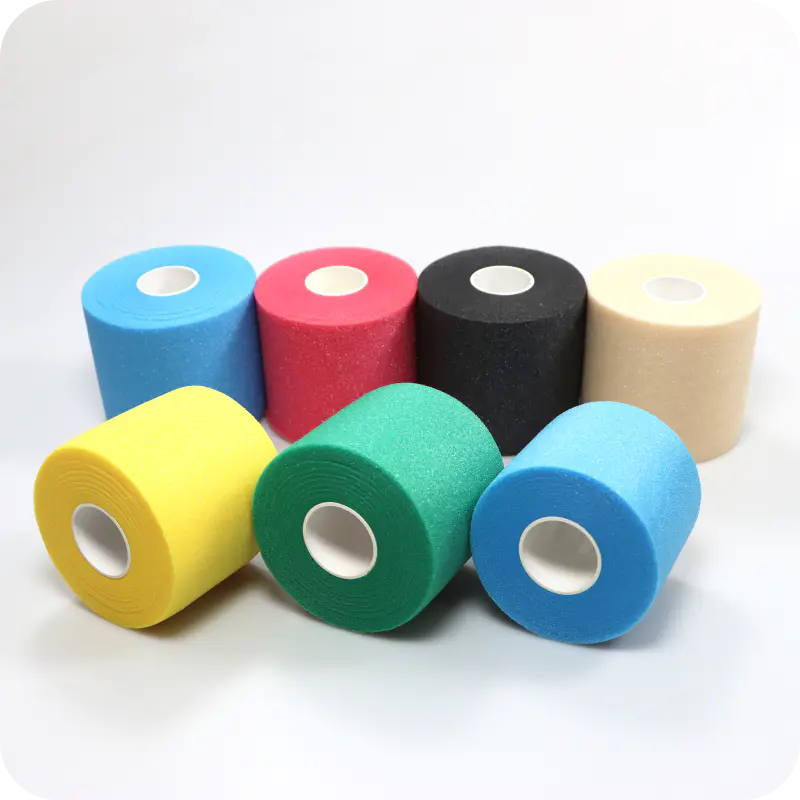
| PBT elastic bandage |
Support after strains |
Lightweight, breathable, conforms well |
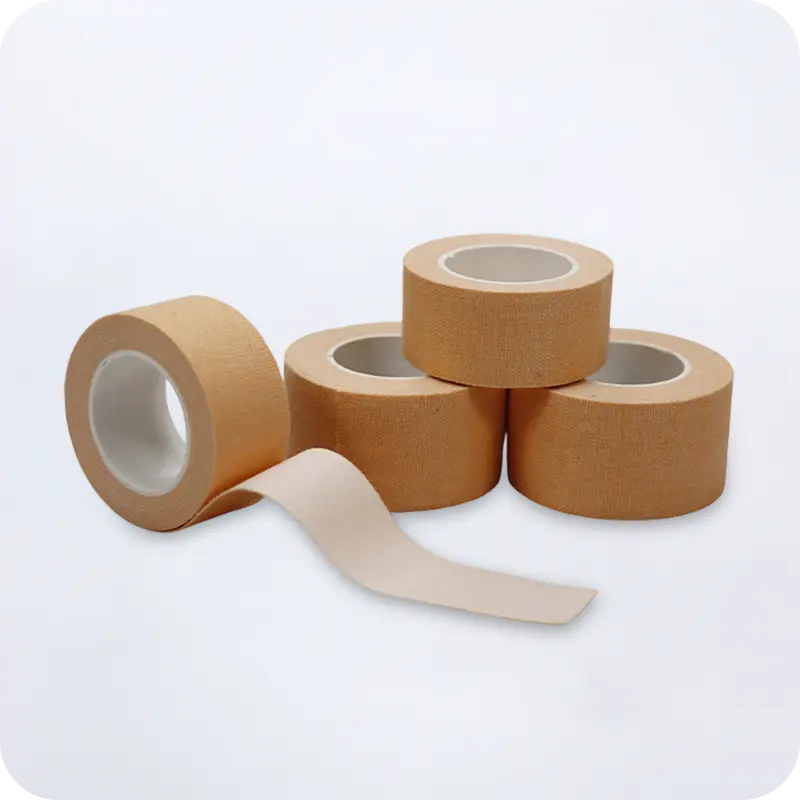
| Sports strapping tape |
Joint support during activity |
Non-stretch and rigid, provides stability |
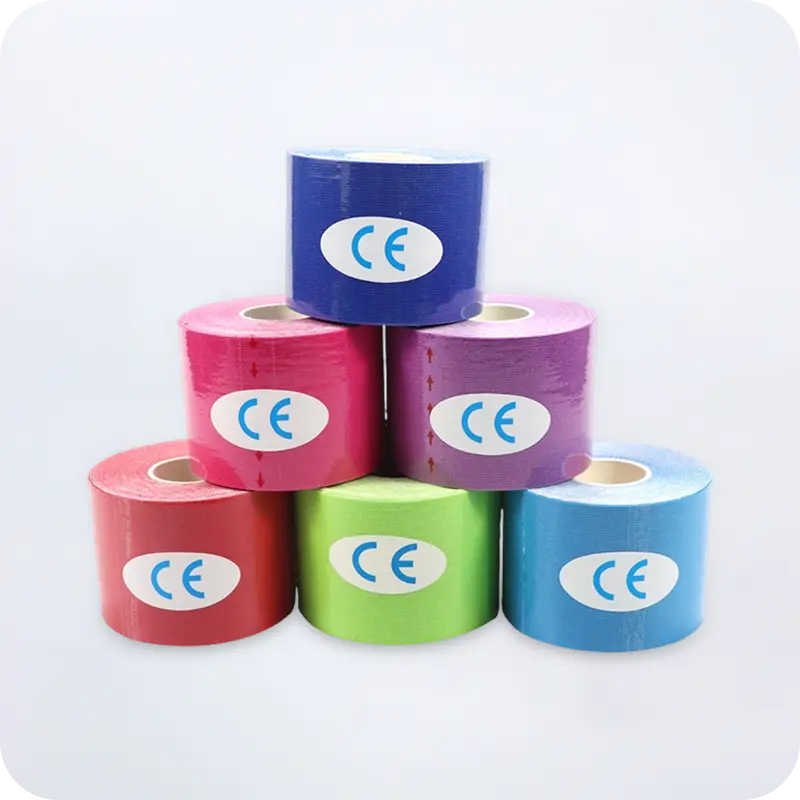
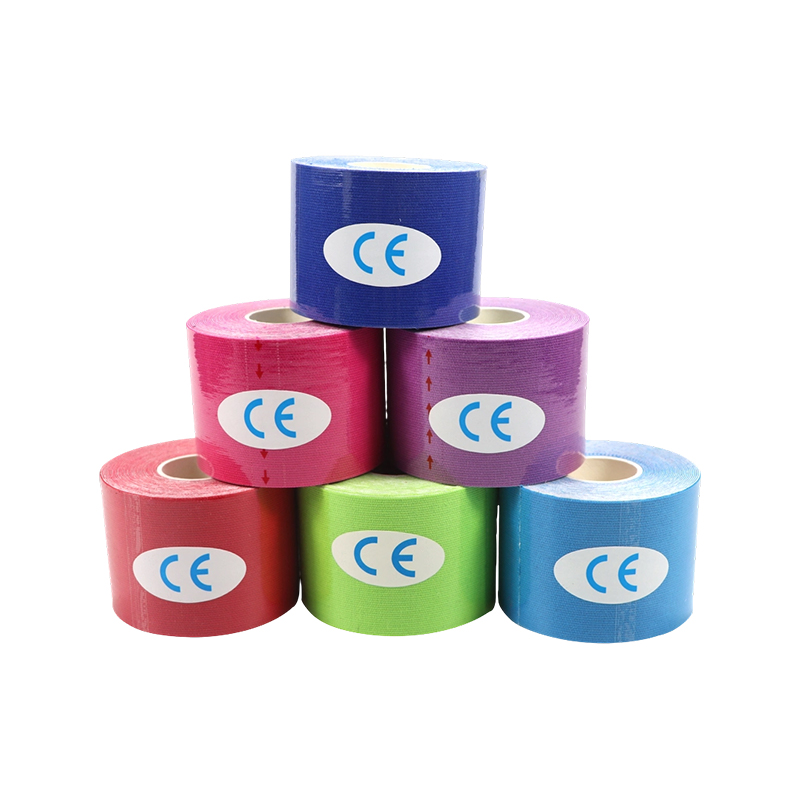
| Kinesiology tape |
Muscle and tendon support |
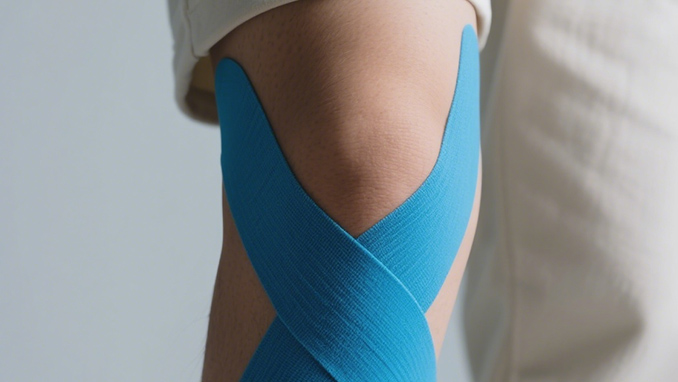
Elastic, supports movement during rehab |
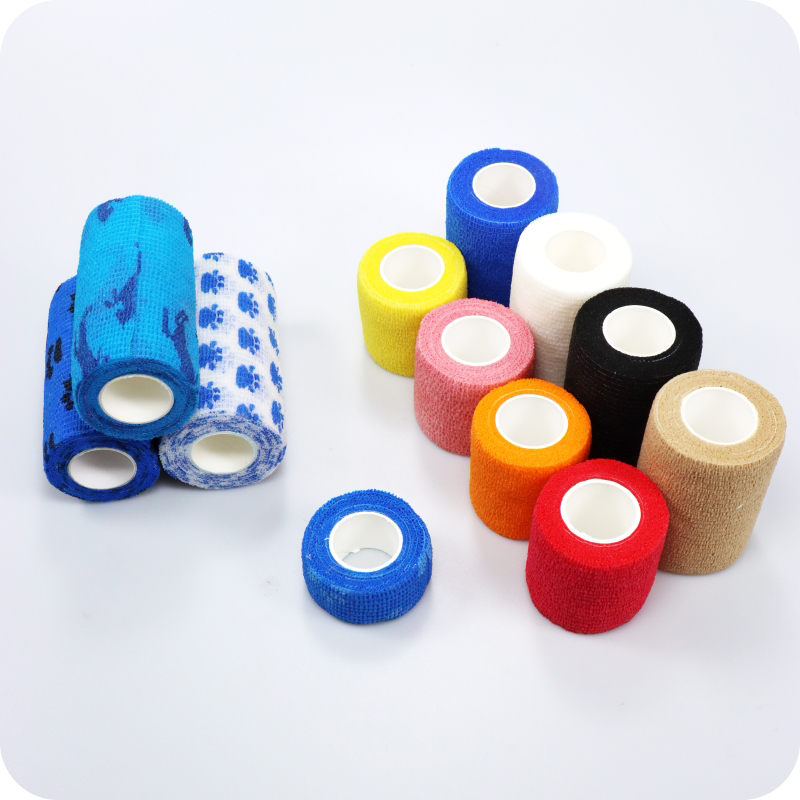
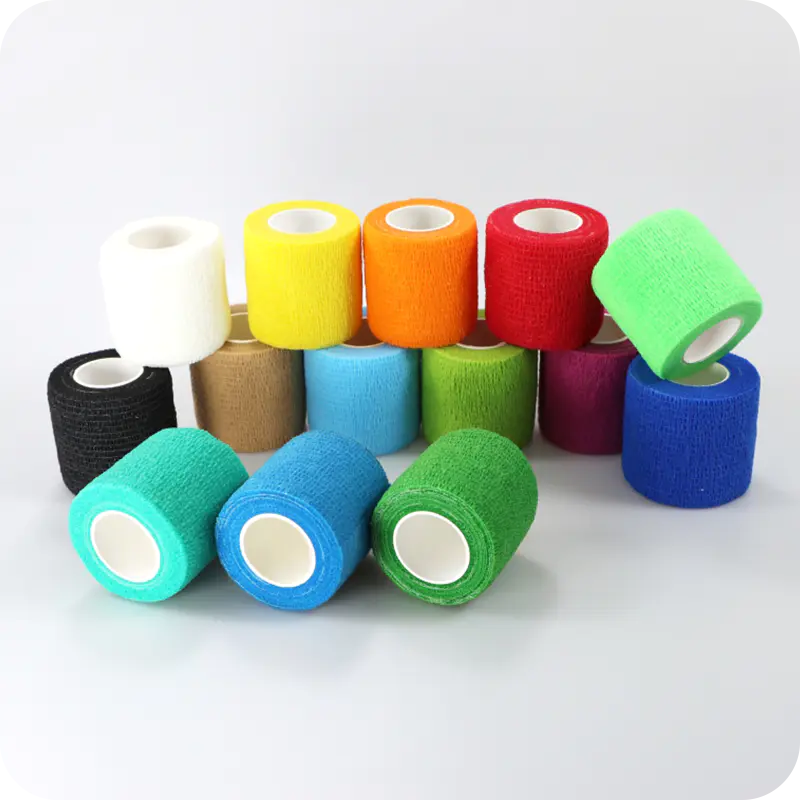
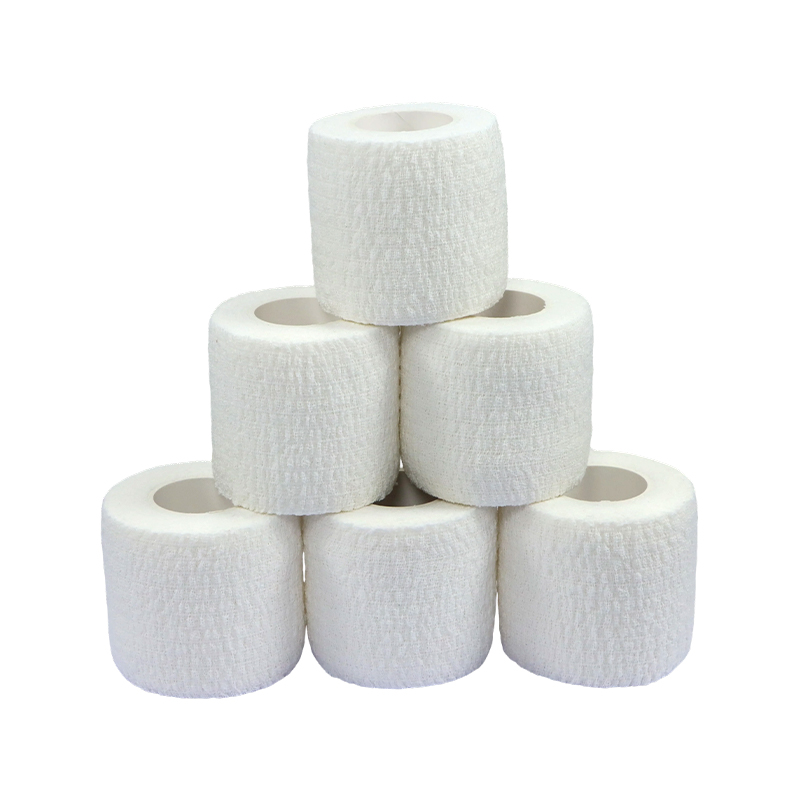
self-adhesive finger protection wrap tape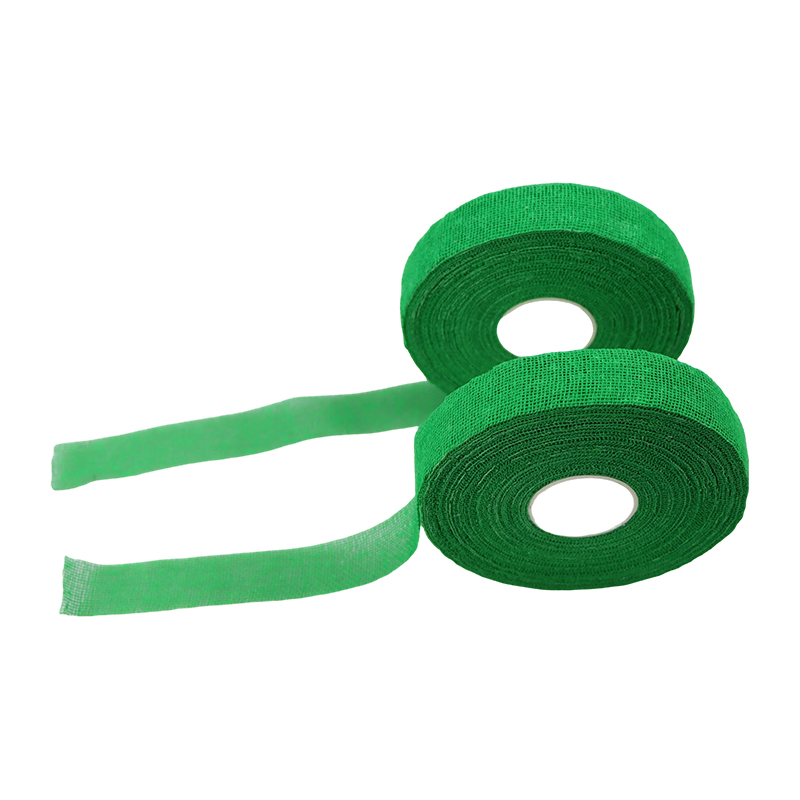 Self-Adhesive Cohesive Wrap for Finger Fixation and ProtectionThis self-adhesive bandage sticks only to itself, no pins or clips needed. It offers customizable compression, breathable comfort, and easy hand tearing, ideal for daily finger bandaging and sports taping.View Product →
For clinics and B2B buyers, a self-adhesive wrap is a sound inventory choice because it can be used for wound dressings, compression support, and sports taping without adding extra fasteners or tools.
Step 3: Bandage the Finger Correctly
Once you have the right bandage, the sequence is straightforward. These seven steps work for most finger wounds and for the elastic type of bandage most people keep in a first aid kit.
- Clean the wound. Rinse with clean water, remove any debris, and gently dry around the injury. Do not use hydrogen peroxide, which can damage healthy tissue and slow healing.
- Place a sterile pad directly over the wound. If the pad is large, trim it so it does not extend far past the fingertip.
- Anchor the bandage. Hold the end of the bandage at the base of the finger, or fold a short tail over the pad, and make one full wrap.
- Wrap toward the fingertip. Overlap the bandage by about half of its width with each turn, working from the base toward the tip. Go just past the fingertip.
- Wrap back down. Fold the bandage over the tip and spiral back toward the base of the finger.
- Secure the bandage. With a cohesive wrap, press the tail against the previous layer and it will stick. With a gauze or PBT bandage, use a small piece of medical tape or a bandage clip.
- Check circulation. Press on the fingertip until it pales, then release. Color should return in about two seconds. If it takes longer, the bandage is too tight; unwrap and start over with less tension.
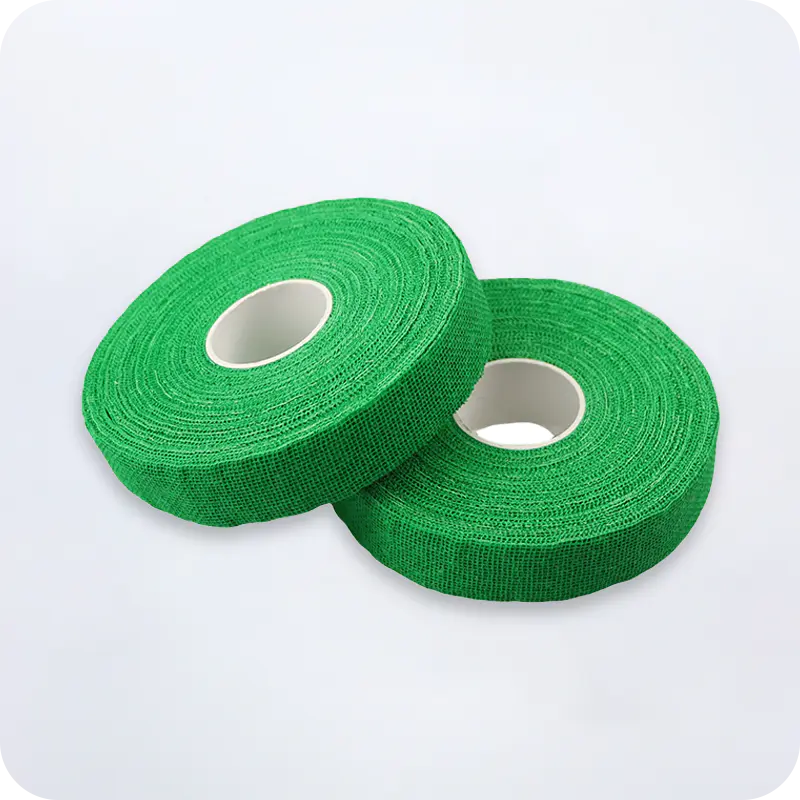
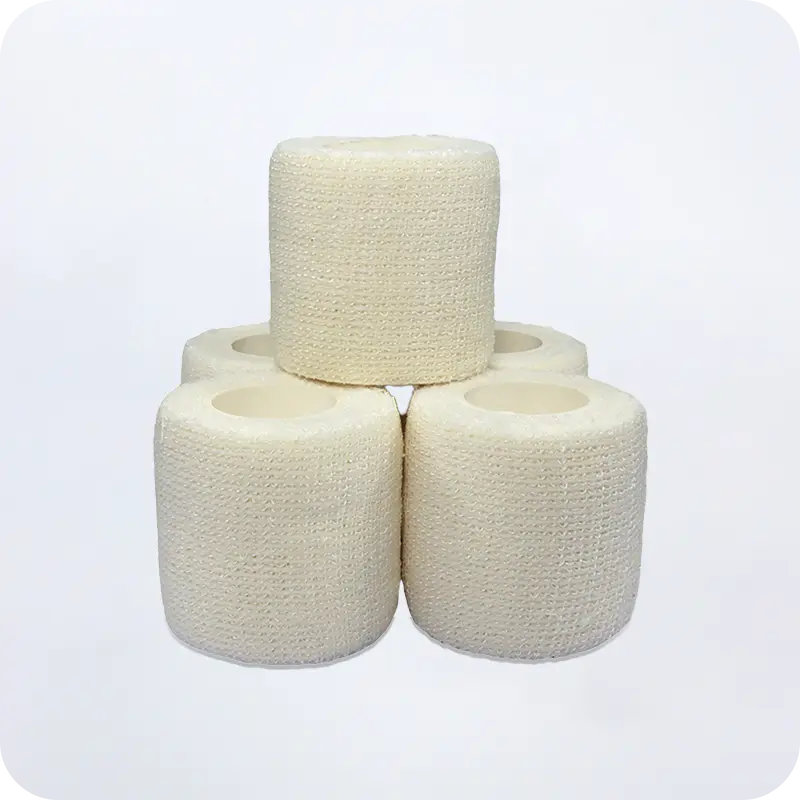
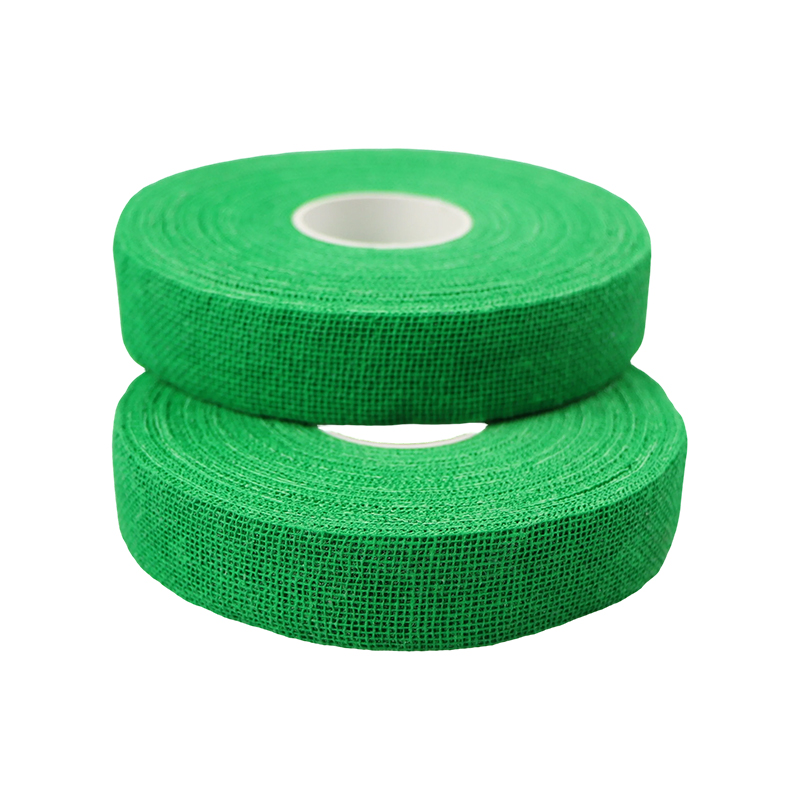
cotton self-adhesive finger protector tape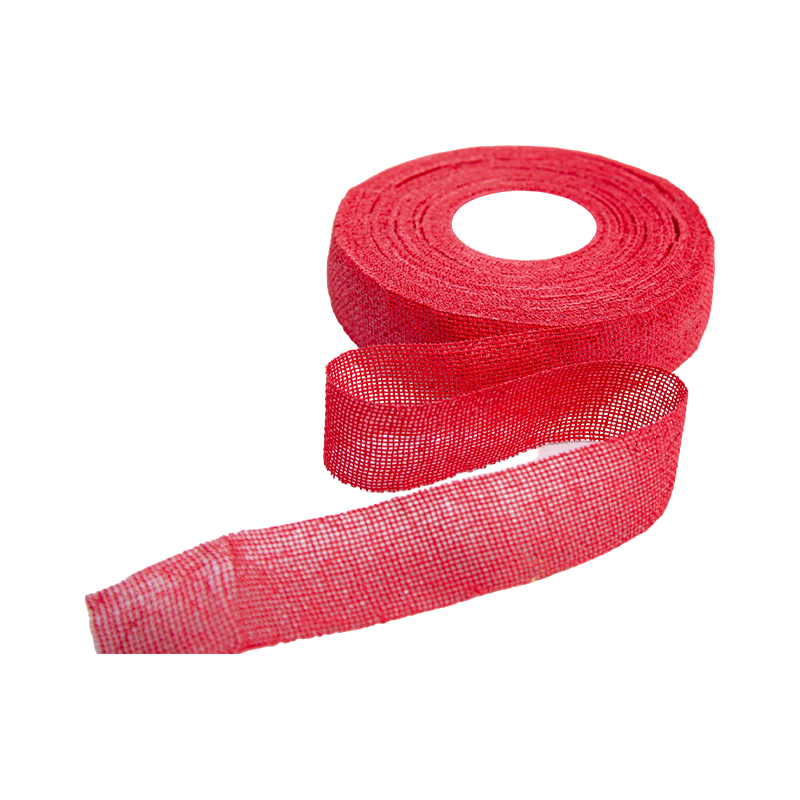 Cotton Self-Adhesive Finger Wrap with Dual-Layer ComfortCombining soft cotton yarn with a self-adhesive outer coating, this wrap provides breathable, moisture-wicking protection. It adheres only to itself, securing without clips or tapes, suitable for wound care and active use.View Product →
A cotton self-adhesive tape combines absorbent wound protection with elastic finger movement, which makes it a practical choice for both first aid and sports use.
Fingertip Injuries: Special Bandaging Technique
A cut on the fingertip is one of the hardest wounds to dress. Standard plasters do not stay, and wraps can slide off the smooth, tapered end of the finger. There is a simple solution used in many first aid settings.
After placing a sterile pad at the tip, cut or fold a small bandage into a T-shape. Position the crossbar over the fingertip, with the narrow stem running along the top of the finger. Pull one wing across one side of the pad, the other wing across the other side, and anchor both on the nail side. Wrap the stem around the finger and secure it.
Another option is to cover the pad first, then wrap a small self-adhesive bandage around the finger at the level of the pad, bring it over the tip, cross it, and bring it back down. The key is to create a cross pattern at the tip that locks the bandage in place.
How to Bandage a Finger for Sports
When fingers need protection during volleyball, basketball, BJJ, climbing, or weightlifting, the aim of bandaging shifts from wound care to joint support. Here you are not trying to protect a cut; you are trying to prevent hyperextension, reduce strain on ligaments, and keep the finger in a safe position.
For a sprained finger, the most common method is buddy taping. Place the injured finger against the adjacent healthy finger, and wrap a rigid sports tape around both, at the level just above and just below the injured joint. Use two loops and allow room for the joint to still bend slightly.
If you prefer a compressible bandage that supports without being rigid, a self-adhesive sports bandage provides moderate compression while permitting limited movement. It is also useful as an under-wrap for rigid tape, reducing friction between the skin and the adhesive.
sports cohesive bandage for finger protection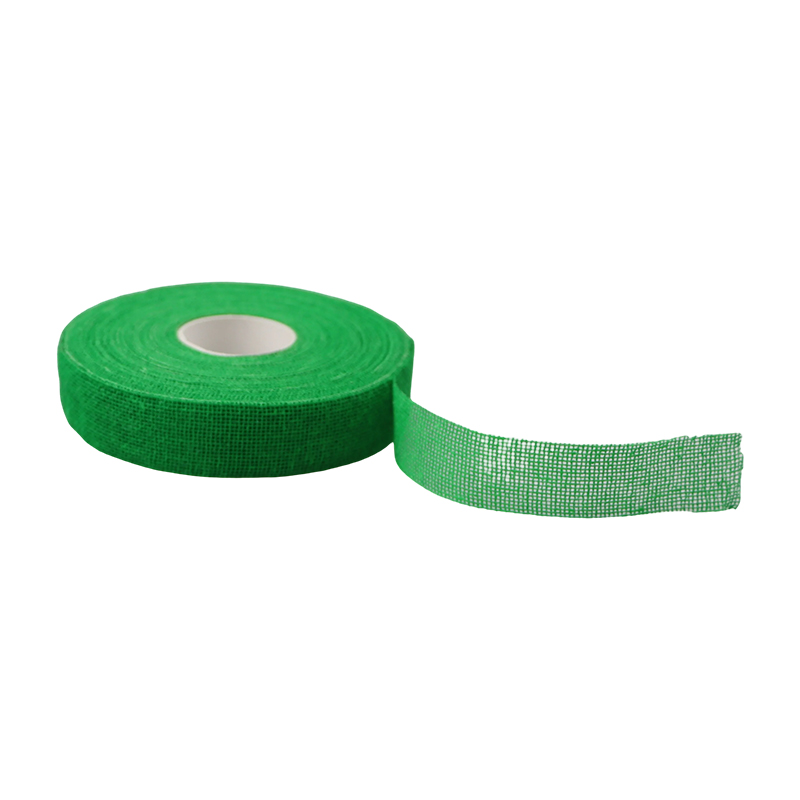 Sports Cohesive Bandage for Finger Support and Injury PreventionDesigned for athletes, this cohesive bandage delivers moderate compression and stabilization for knuckles and fingertips. Its hypoallergenic adhesive and breathable fiber stay put during training, removing without residue.View Product →
For athletes and sports medicine professionals, a cohesive bandage that stays in place through a full training session is often more valuable than a rigid tape. Pair it with the sports protection solutions for team or clinic supply.
Common Finger Bandaging Mistakes to Avoid
Most finger bandaging problems come from one of these errors. Knowing what they are in advance keeps your recovery comfortable and reduces the chance of a second visit to the doctor.
- Wrapping too tightly. This is the most serious risk. A tight bandage restricts blood flow and can lead to numbness, coldness, or permanent tissue damage. Check by pressing the fingertip to see if the color returns quickly.
- Starting the wrap at the wrong position. Wrap from the fingertip toward the base of the finger. This prevents the bandage from sliding over the fingertip and helps control swelling.
- Touching the gauze pad. The pad that contacts the wound must stay sterile. Handle it by the edges or through its packaging. Use clean hands or medical gloves.
- Using a bandage that is too wide. A wide wrap will cover the whole finger and make it difficult to bend the joints. Choose a finger-width bandage of around 2.5 cm to 4 cm.
- Reusing an old bandage. After changing a dressing, the used bandage carries bacteria. Use a fresh piece each time.
- Ignoring signs of infection. Redness, warmth, swelling, pus, or pain that gets worse means the wound needs professional attention.
Finger Bandaging FAQ
Q1: How long should I keep a finger bandage on?
Change the bandage at least once a day, or whenever it becomes wet or dirty. Minor wounds can often be left uncovered after 24 to 48 hours if they are dry and clean, but keep the area protected if it is in a high-friction environment.
Q2: How tight should a finger bandage be?
It should be snug but comfortable. A good test is to press on the fingertip until the skin pales, then release. If the pink color returns within about two seconds, the tension is right. If it takes longer or the finger has a tingling sensation, the bandage is too tight.
Q3: Can I bandage a finger with a suspected fracture?
Only as a temporary measure. Apply a light elastic bandage or splint to keep the finger still while you get to a doctor. A rigid, immovable support is safer for a possible fracture than a compression wrap alone.
Q4: Should I use an adhesive bandage or an elastic wrap?
Use an adhesive bandage for small, superficial cuts. Use an elastic or self-adhesive wrap when the area is likely to swell, when you need compression, or when the finger needs to stay protected during activity. A self-adhesive bandage combines both reasonably well.
Q5: What should I do if my finger is still numb after bandaging?
Loosen the bandage immediately. Numbness is a warning sign that the blood supply is reduced. Remove the bandage, let the circulation recover, and reapply with much less tension. If numbness persists after the bandage is removed, see a doctor.






 English
  русский
  Français
  Español
  عربى
عربى 

 ENG
ENG